How to Set Up Klaviyo As a Server Side Destination
Learn how to Connect Elevar to Klaviyo to Boost the Performance of your Browse and Cart Abandonment Emails
Overview
Standard Klaviyo Tracking Setup (Client Side Tracking)
Here is how the standard (non-Elevar) Klaviyo tracking setup works with client side tracking:
- App is installed on your store which in many cases automatically installs their base snippet (learn more about this step here.
- You'll hardcode a Product View</> tracking script into your theme.
- You may also add Add to Cart and/or out of stock events to your theme.
- Klaviyo app will automatically send started order and completed order events via their integration (so you usually don't need to send these events separately).
The "product view" and "add to cart" events are then used for your browse and cart abandonment emails using client side tracking.
Tracking Options with Elevar
With Elevar, you have two options for setting up Klaviyo event tracking that runs in parallel to your pre-existing Klaviyo tracking:
- Via Elevar Server-Side [Recommended]
- Via Google Tag Manager
Server-Side via Elevar
Elevar's Server-Side Klaviyo integration is built to be used in tandem with Klaviyo's native Shopify app! You DO NOT need to remove any pre-existing tracking when enabling Elevar. You DO need to set up new flows to take advantage of the server side events that Elevar sends to Klaviyo.
Prerequisites
Before you can enable your Klaviyo Server-Side Destination, you will need to:
- Ensure the Shopify source is installed and active on your published Shopify theme. Follow our guide to get started, How to Implement the Shopify Source on Your Shopify Store.
- [Optional but highly recommended] If you don't use a Klaviyo Pop-up, Attentive Pop-up, Postscript Pop-up or the native Shopify Footer for email capture, build your own dl_subscribe event so we can recognize returning users which helps improve our Klaviyo server-side performance.
Step 1: Add Destination
In your Elevar App, navigate to My Tracking > Select Add Destination > Find and select Klaviyo.

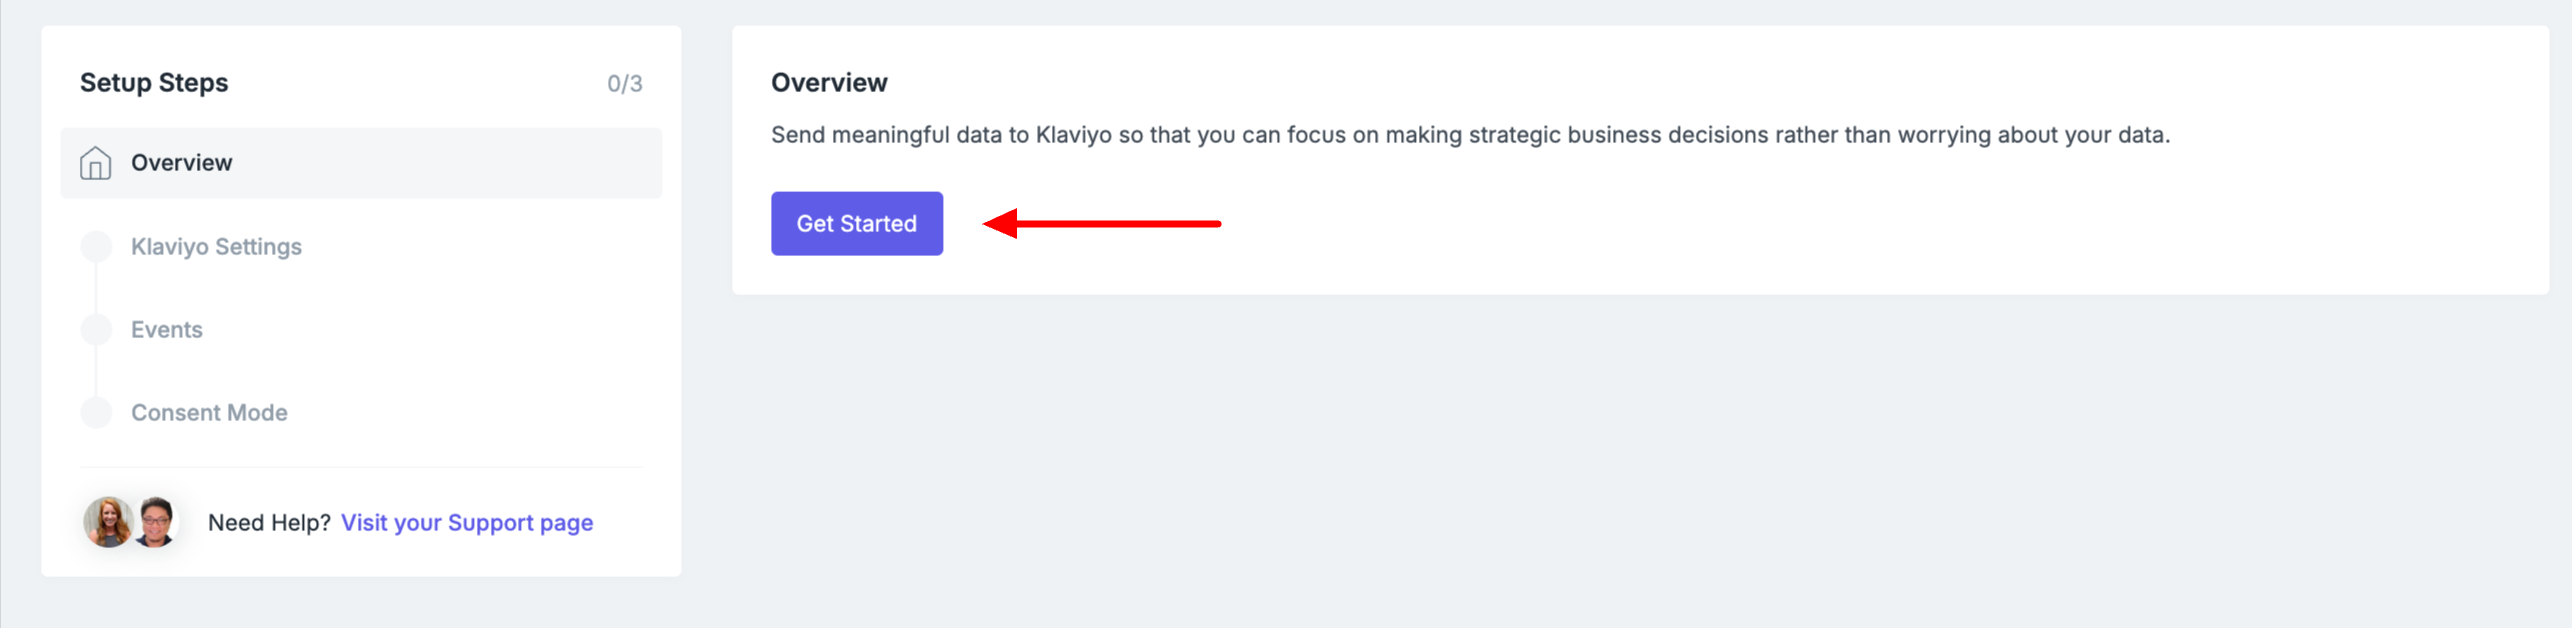
You'll be taken to an Overview Page, select Get Started.
Step 2: Connect your Klaviyo Account
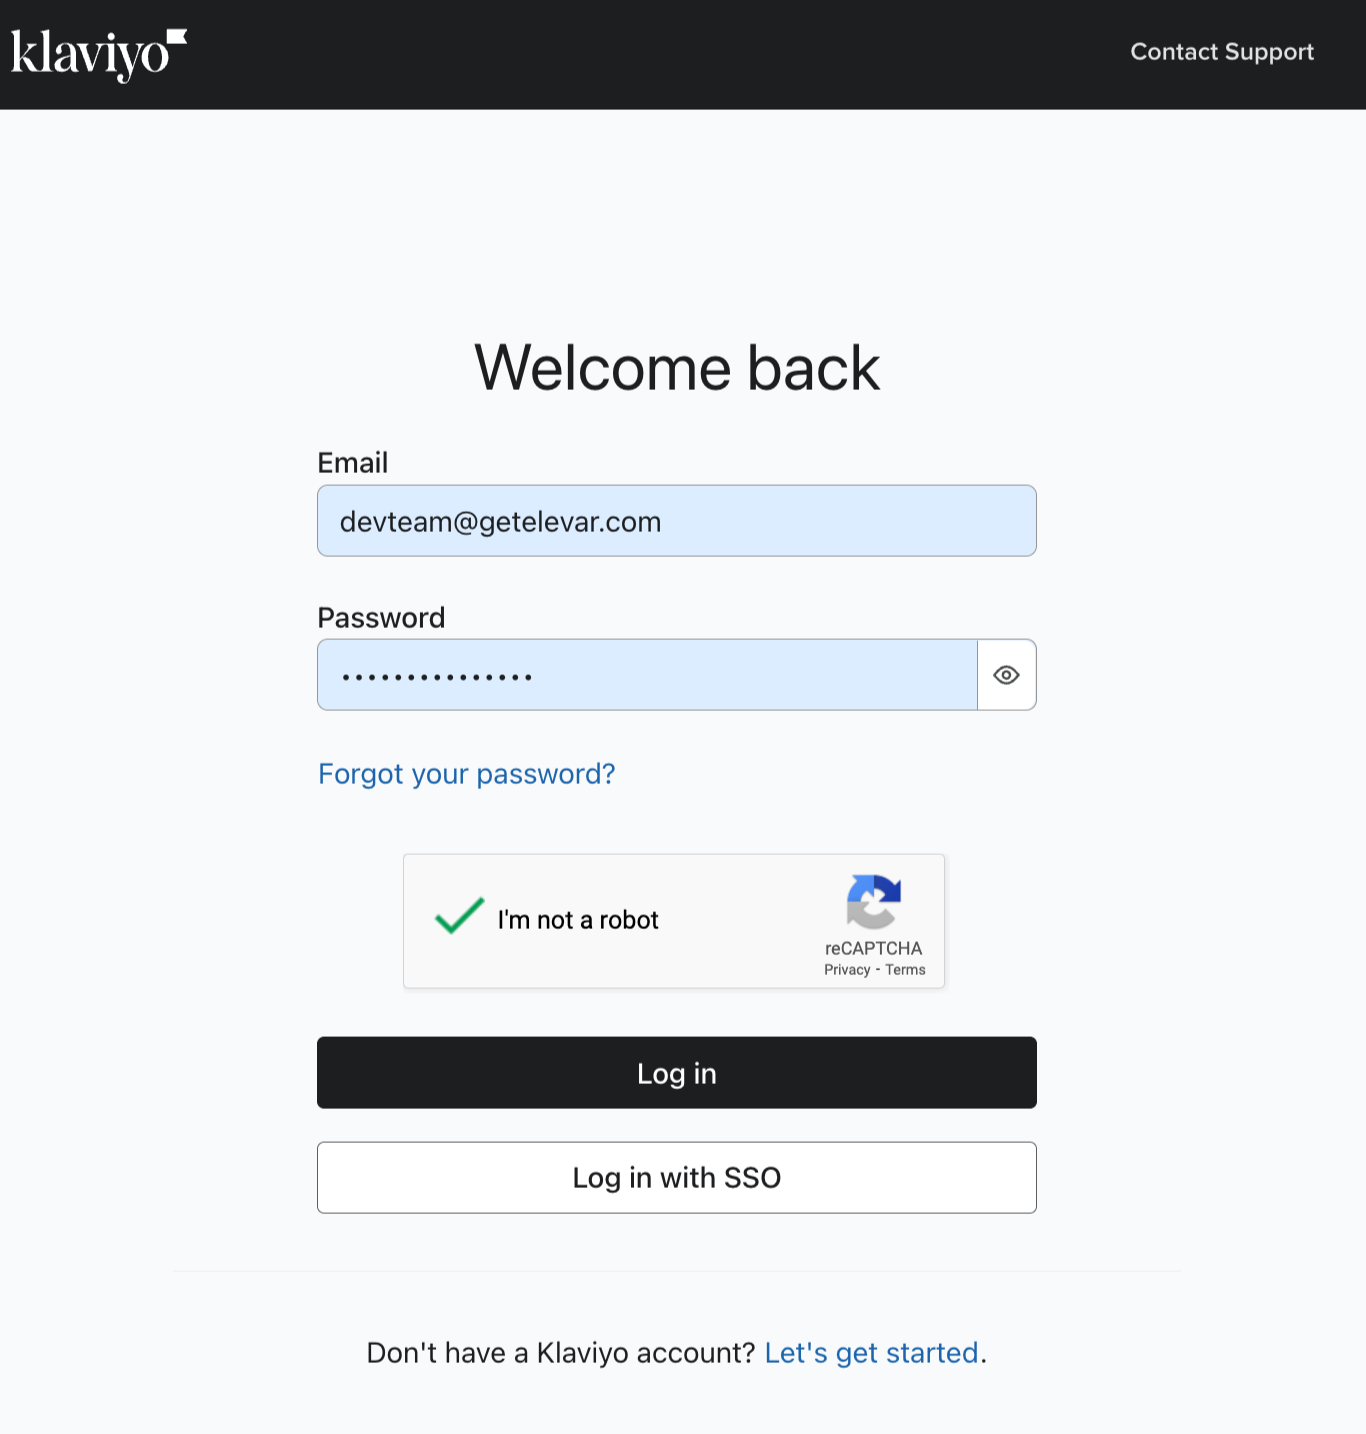
Select Connect Klaviyo Account

You'll be brought to a sign in screen. Log into your Klaviyo Account
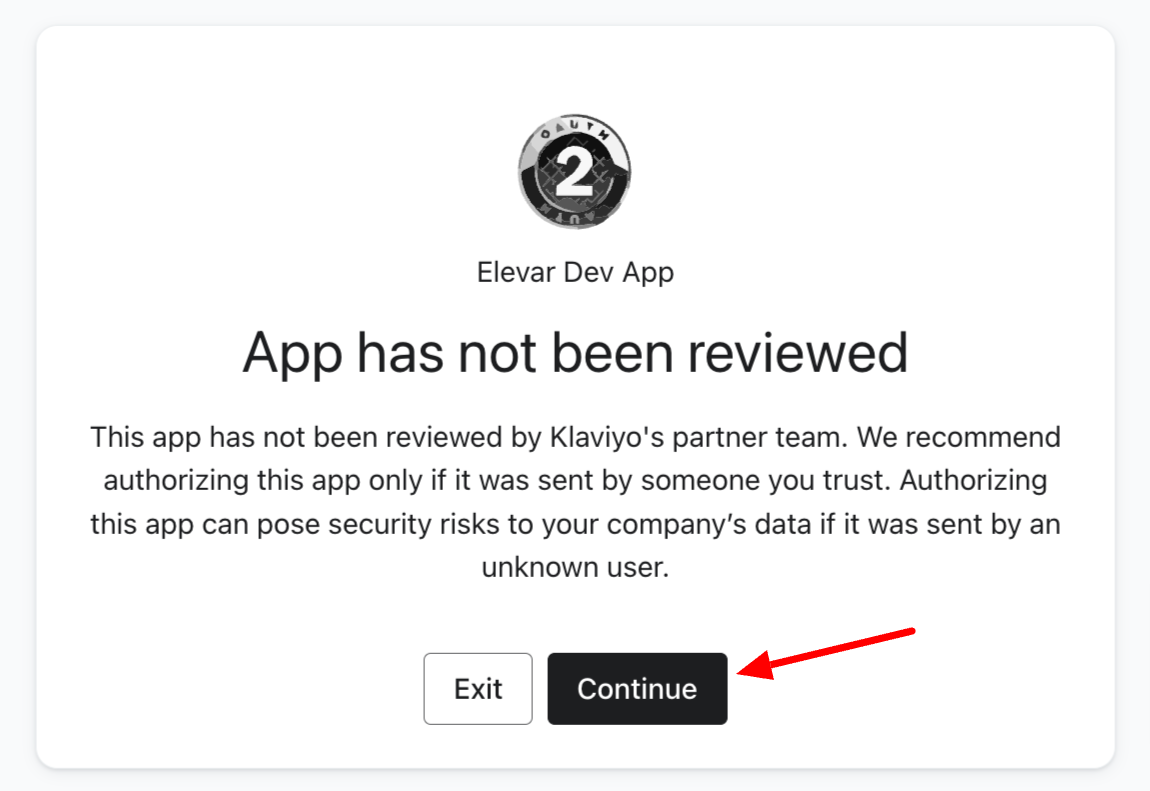
Select Continue to approve the App.
Select Allow
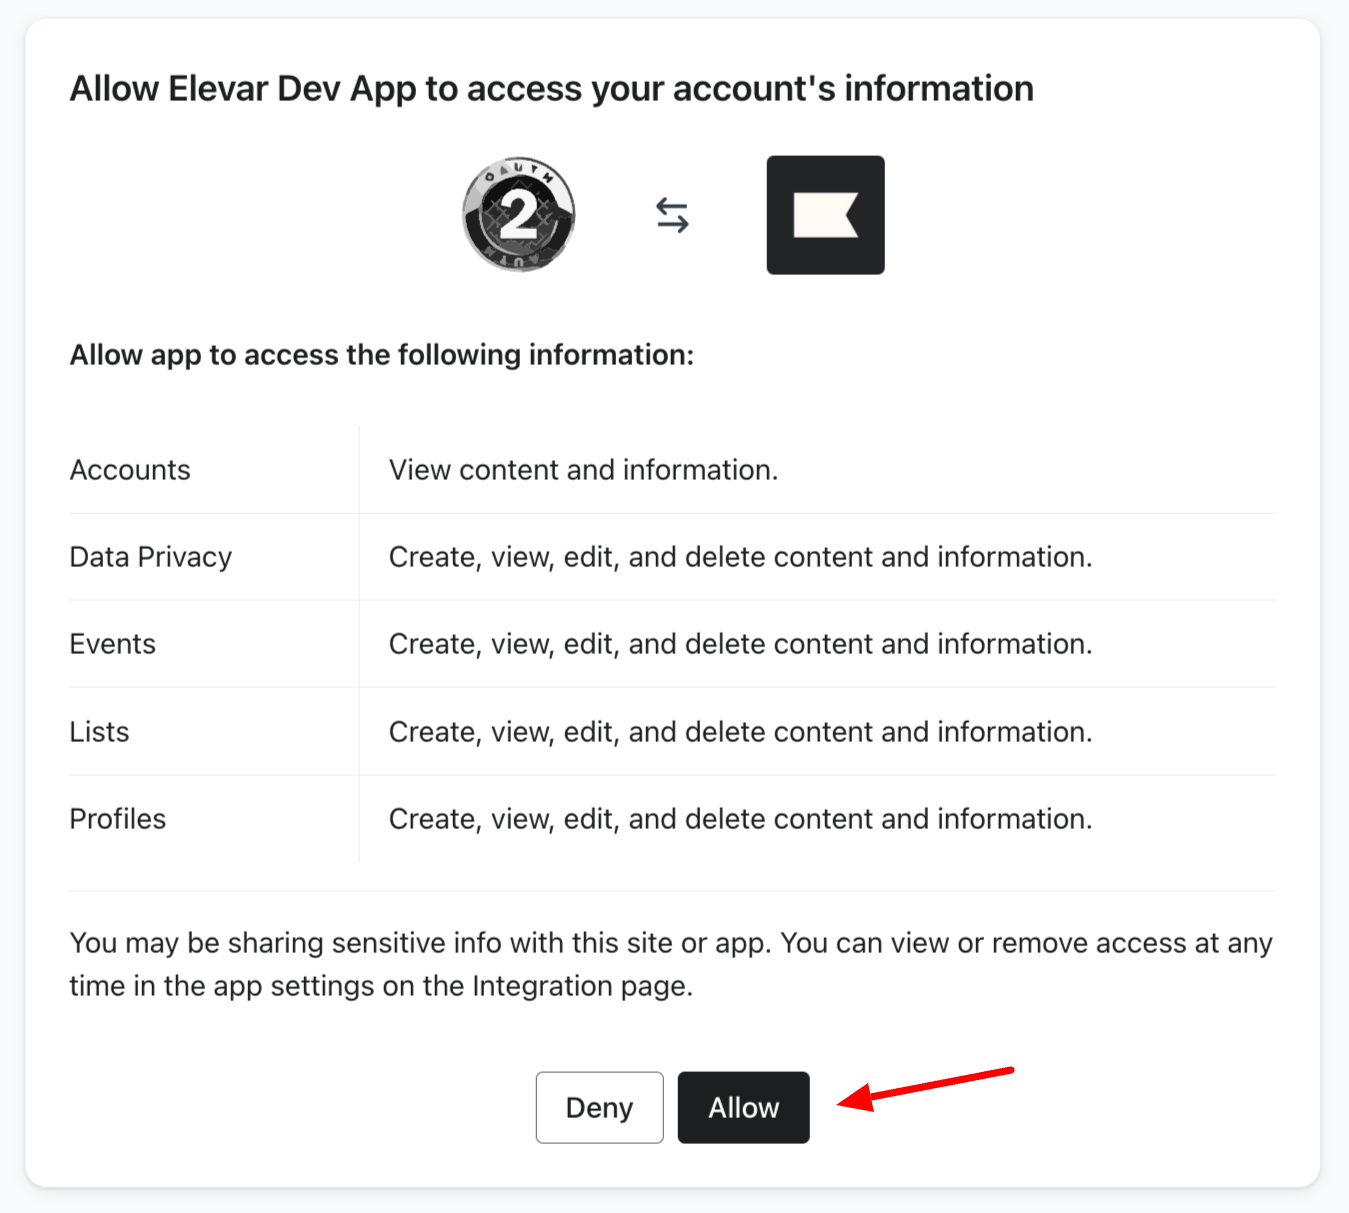
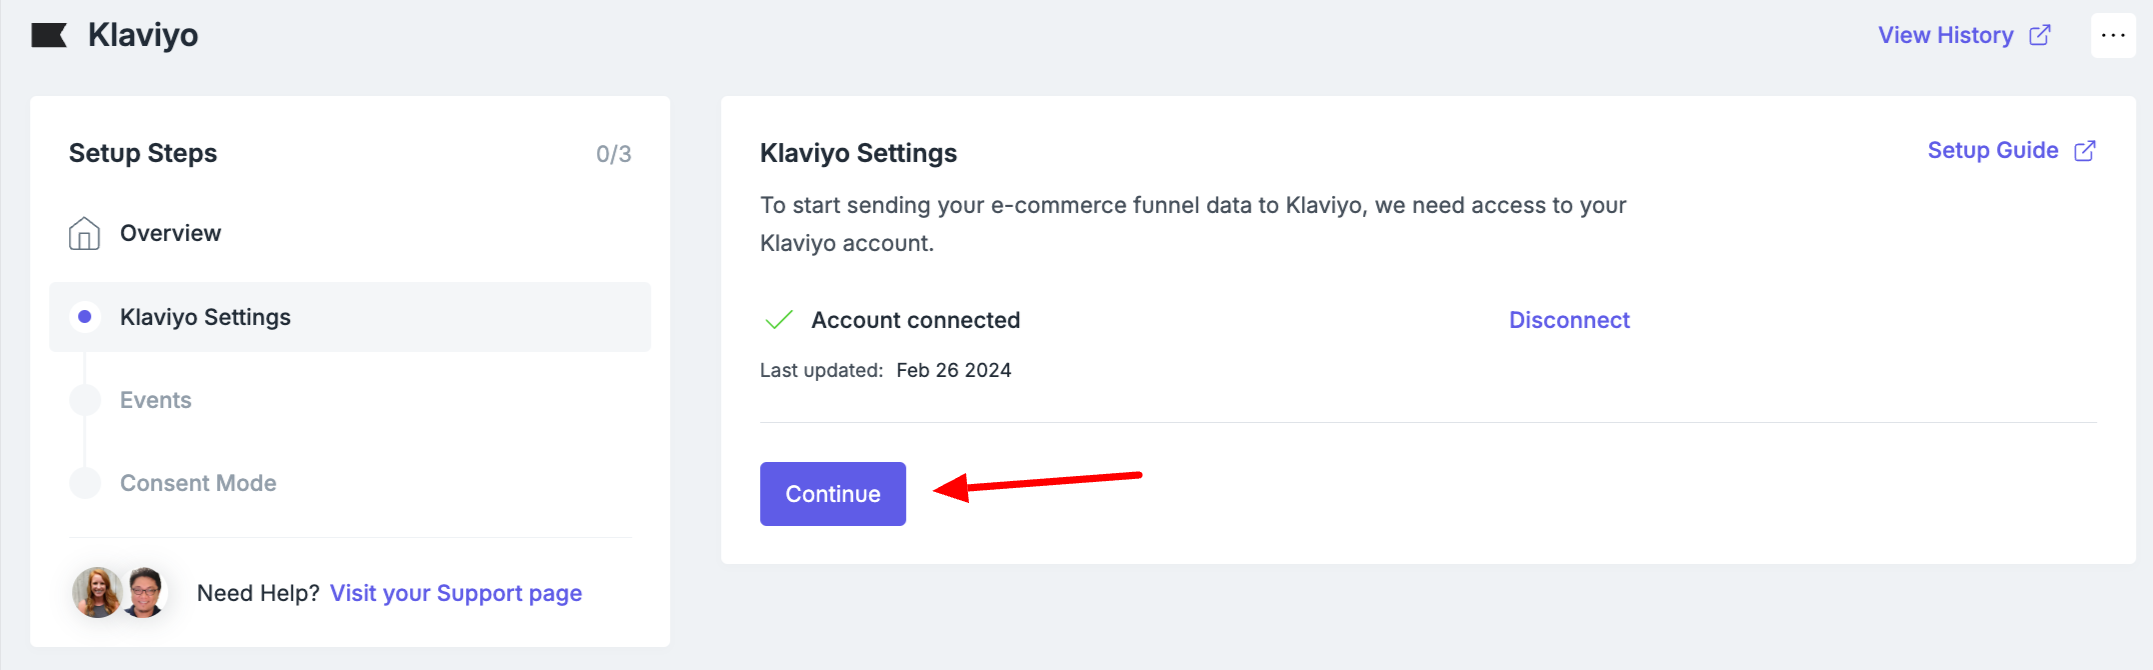
Once you have successfully provided access you'll be returned to the Elevar App. Select Continue
Step 3: Select Events
By default, we've already selected the standard recommended event names for you!
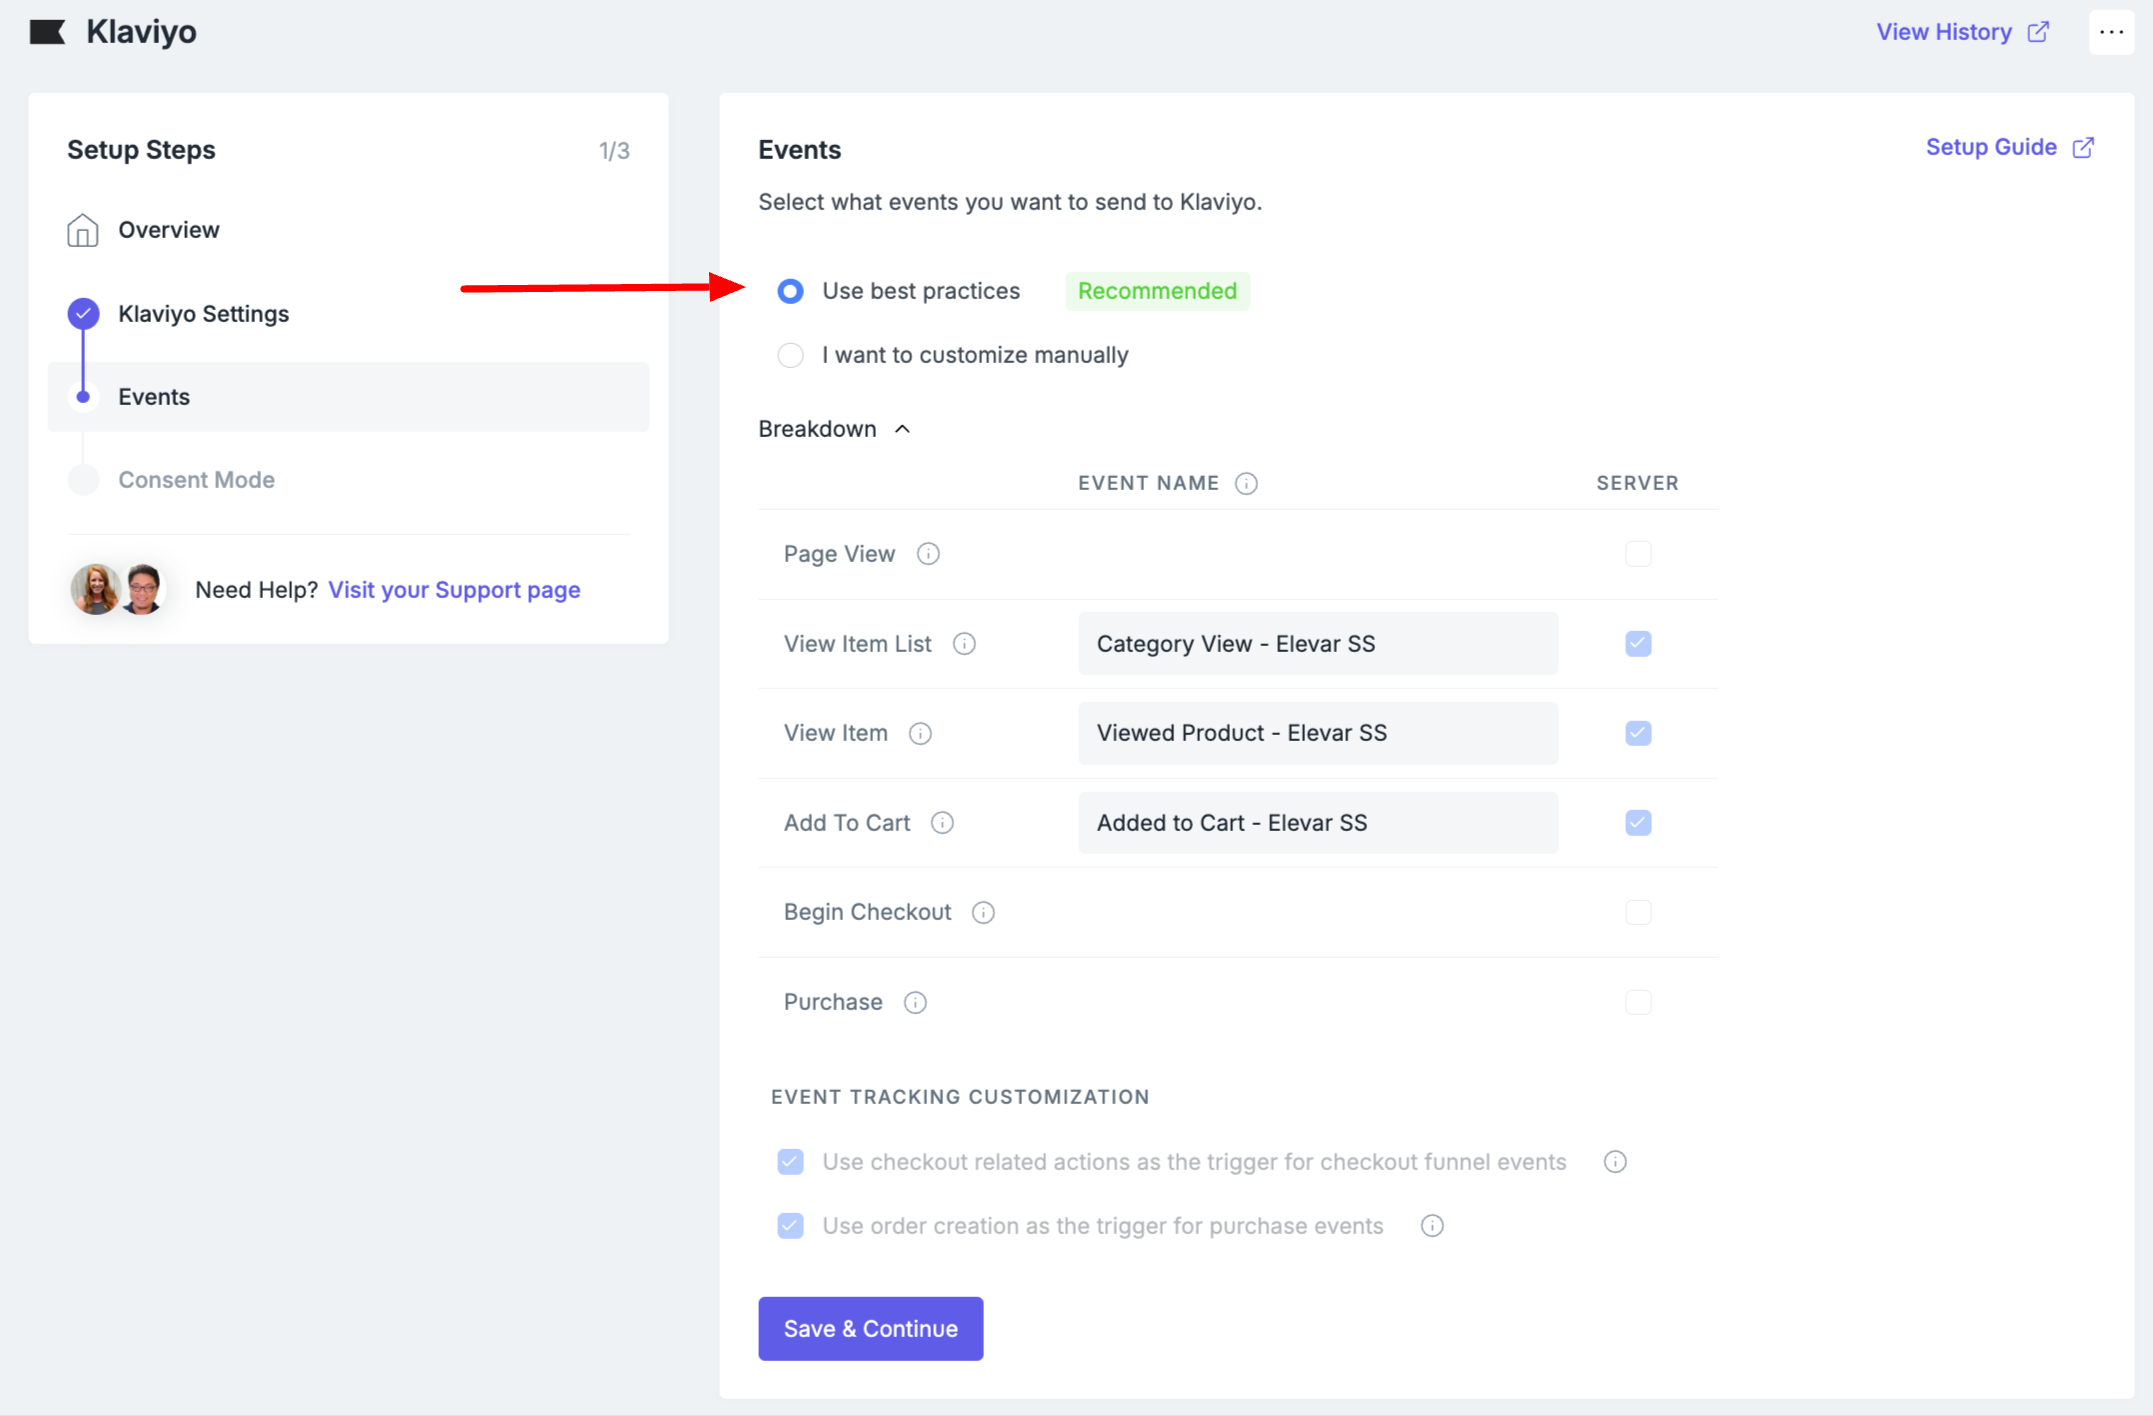
The event names for client side tracking are "Category View", "Viewed Product", and "Added to Cart", and the event names for Elevar's sever side integration with Klaviyo are "Category View - Elevar SS", "Viewed Product - Elevar SS", and "Added to Cart - Elevar SS". These are the names of triggers that can be used to power your browse and cart abandonment flows using the server side events that Elevar sends to Klaviyo.
Select Save to continue to the next step.
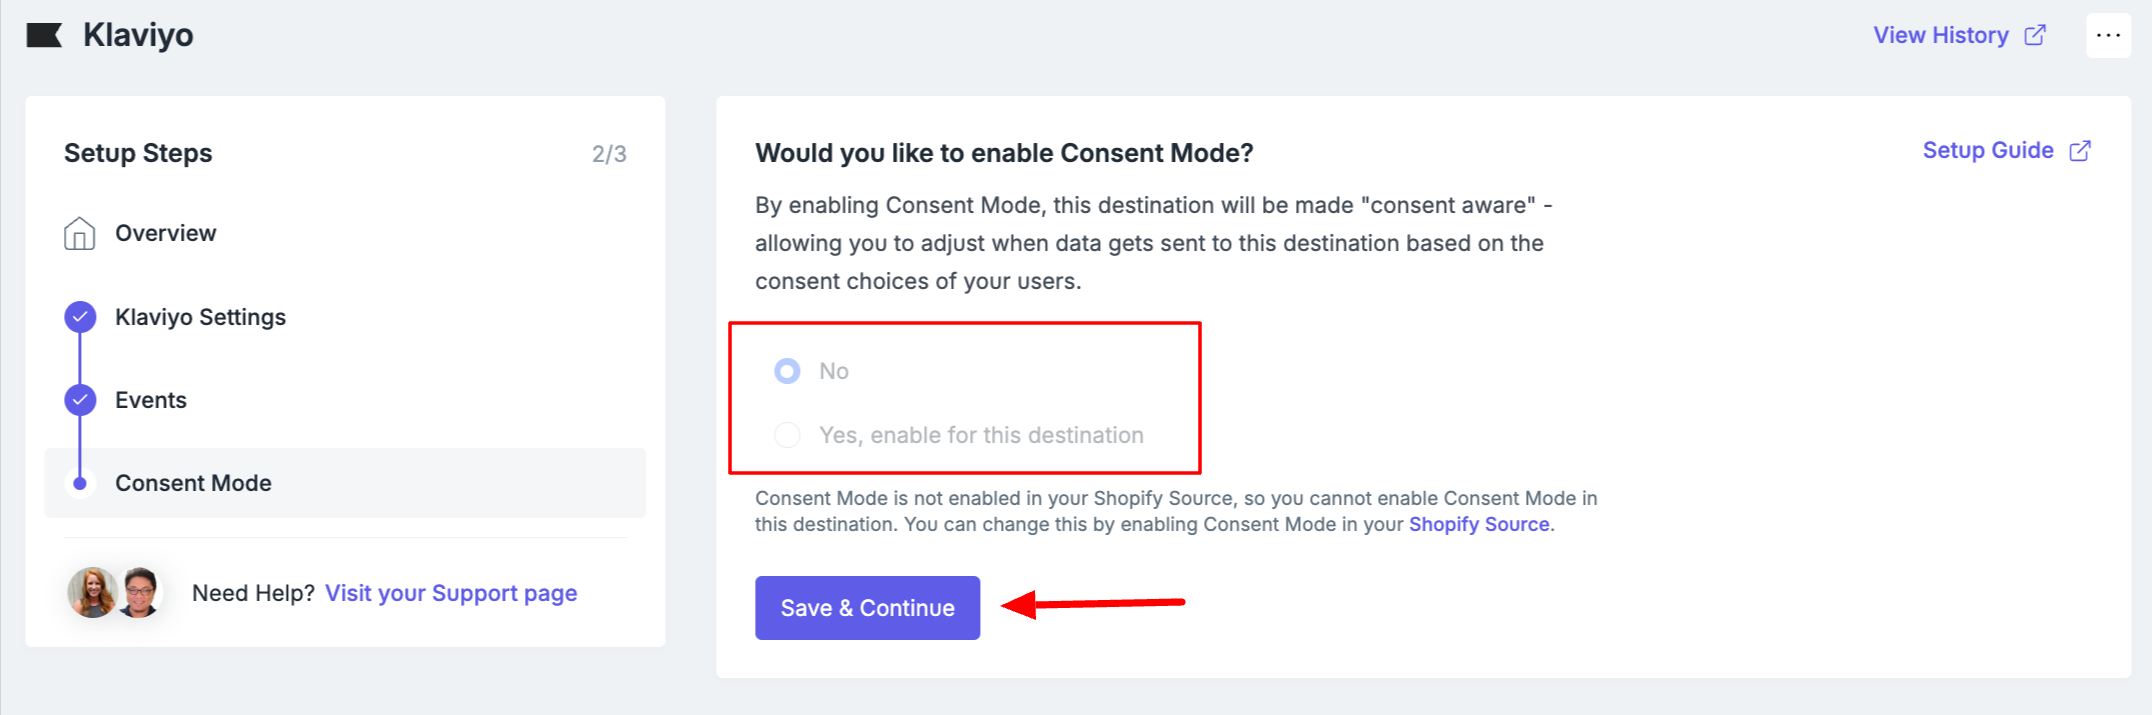
Step 4: If Applicable, Enable Consent Mode
If consent is required, follow these steps to enable consent mode & select your consent categories.
If consent is not required, select Save & Continue.
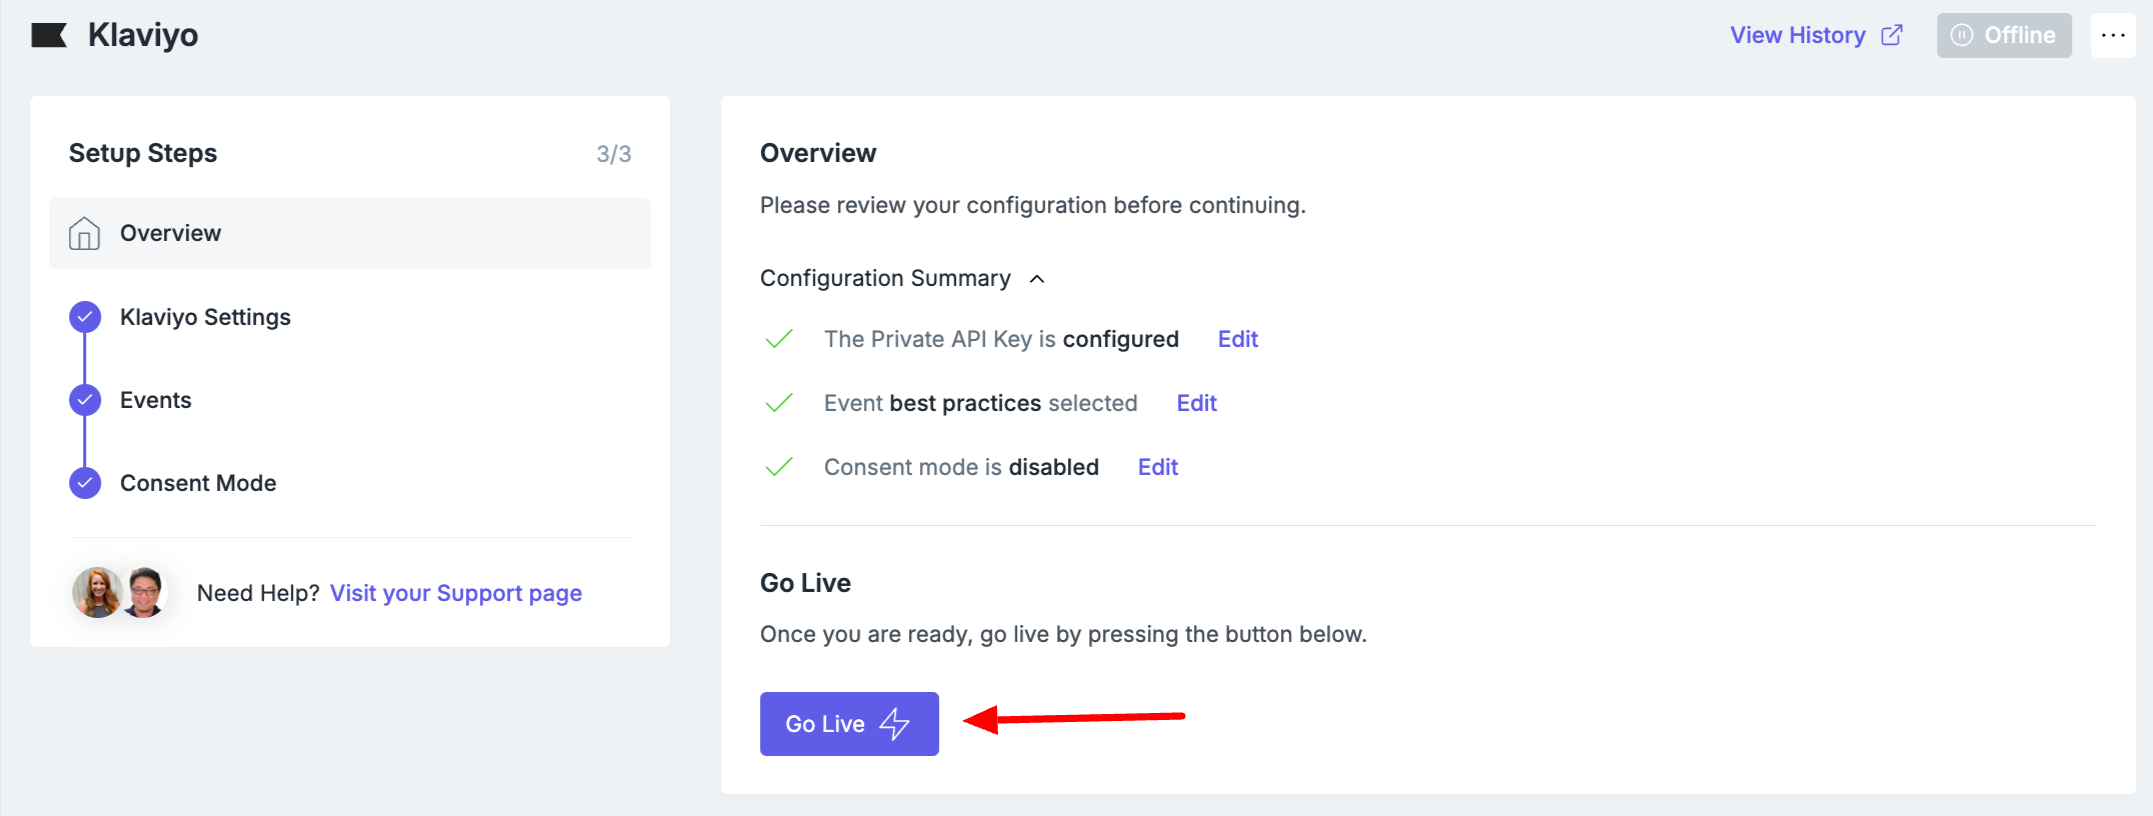
Step 5: Go Live
Select Go Live on the Overview Page to launch your new Klaviyo tracking.
Congrats! You're now halfway done setting up Elevar's integration with Klaviyo. Now that Elevar is connected to Klaviyo, you're sending server side events from Elevar to Klaviyo. Next up, you need to clone your browse and cart abandonment flows to take advantage of the server side events Elevar sends to Klaviyo. To do that, please follow the instructions here: https://docs.getelevar.com/docs/how-to-analyze-klaviyo-server-side-performance-setup-abandoned-flows
Elevar's Client-Side Integration with Klaviyo Via Google Tag Manager
If you'd like to set up client-side tracking via Google Tag Manager, then you'll need to import our Klaviyo pre-built container that includes the following tags:
- Base snippet
- Email signup (and sends email, if it exists in user session, to Klaviyo with the base tag)
- Product view
- Add to cart
- Collection view
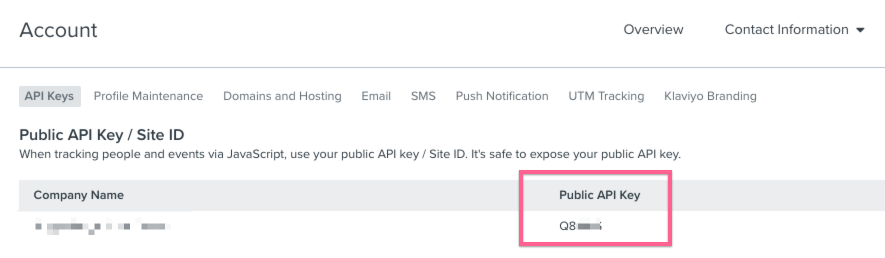
You'll need to grab your Public API key from your Klaviyo account settings before downloading from your Elevar dashboard.
If you plan on keeping your base Klaviyo installation, including the hard-coded product detail view script, then we don't recommend adding GTM as well. These will duplicate and could lead to issues in your tracking.
If you decide to move forward with GTM then be sure you test thoroughly.
If you are browsing the site as a recognized user with Klaviyo then you can verify your events show up here:
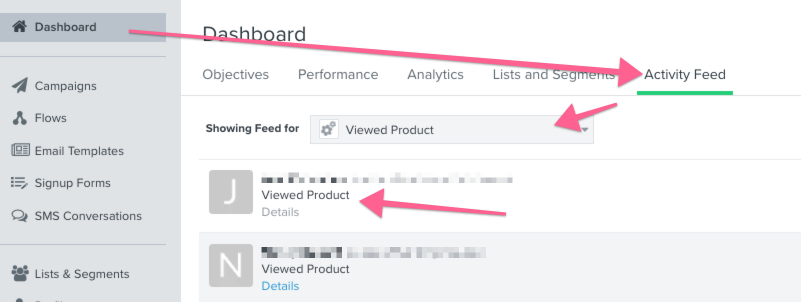
And then expand the details to confirm all of your product data is correct.
Have any questions on this integration? Let us know at [email protected].
If you want to implement Klaviyo event tracking, be sure to thoroughly test that all of your events and flows are working properly!
Updated about 2 months ago
Learn how to validate the Elevar server-events are recognizing more users for your flows