How to Set Up LiveConnect Pixel/Web Tracking via Google Tag Manager
If you would like to implement LiveConnect Pixel/Web tracking via GTM, follow these easy steps to publish.
Prerequisites
In order to deploy LiveConnect tracking, you'll need to install our Shopify Source. Follow our guide on How to Implement the Shopify Source.
Step 1: Download the Pre-Built LiveConnect Tags
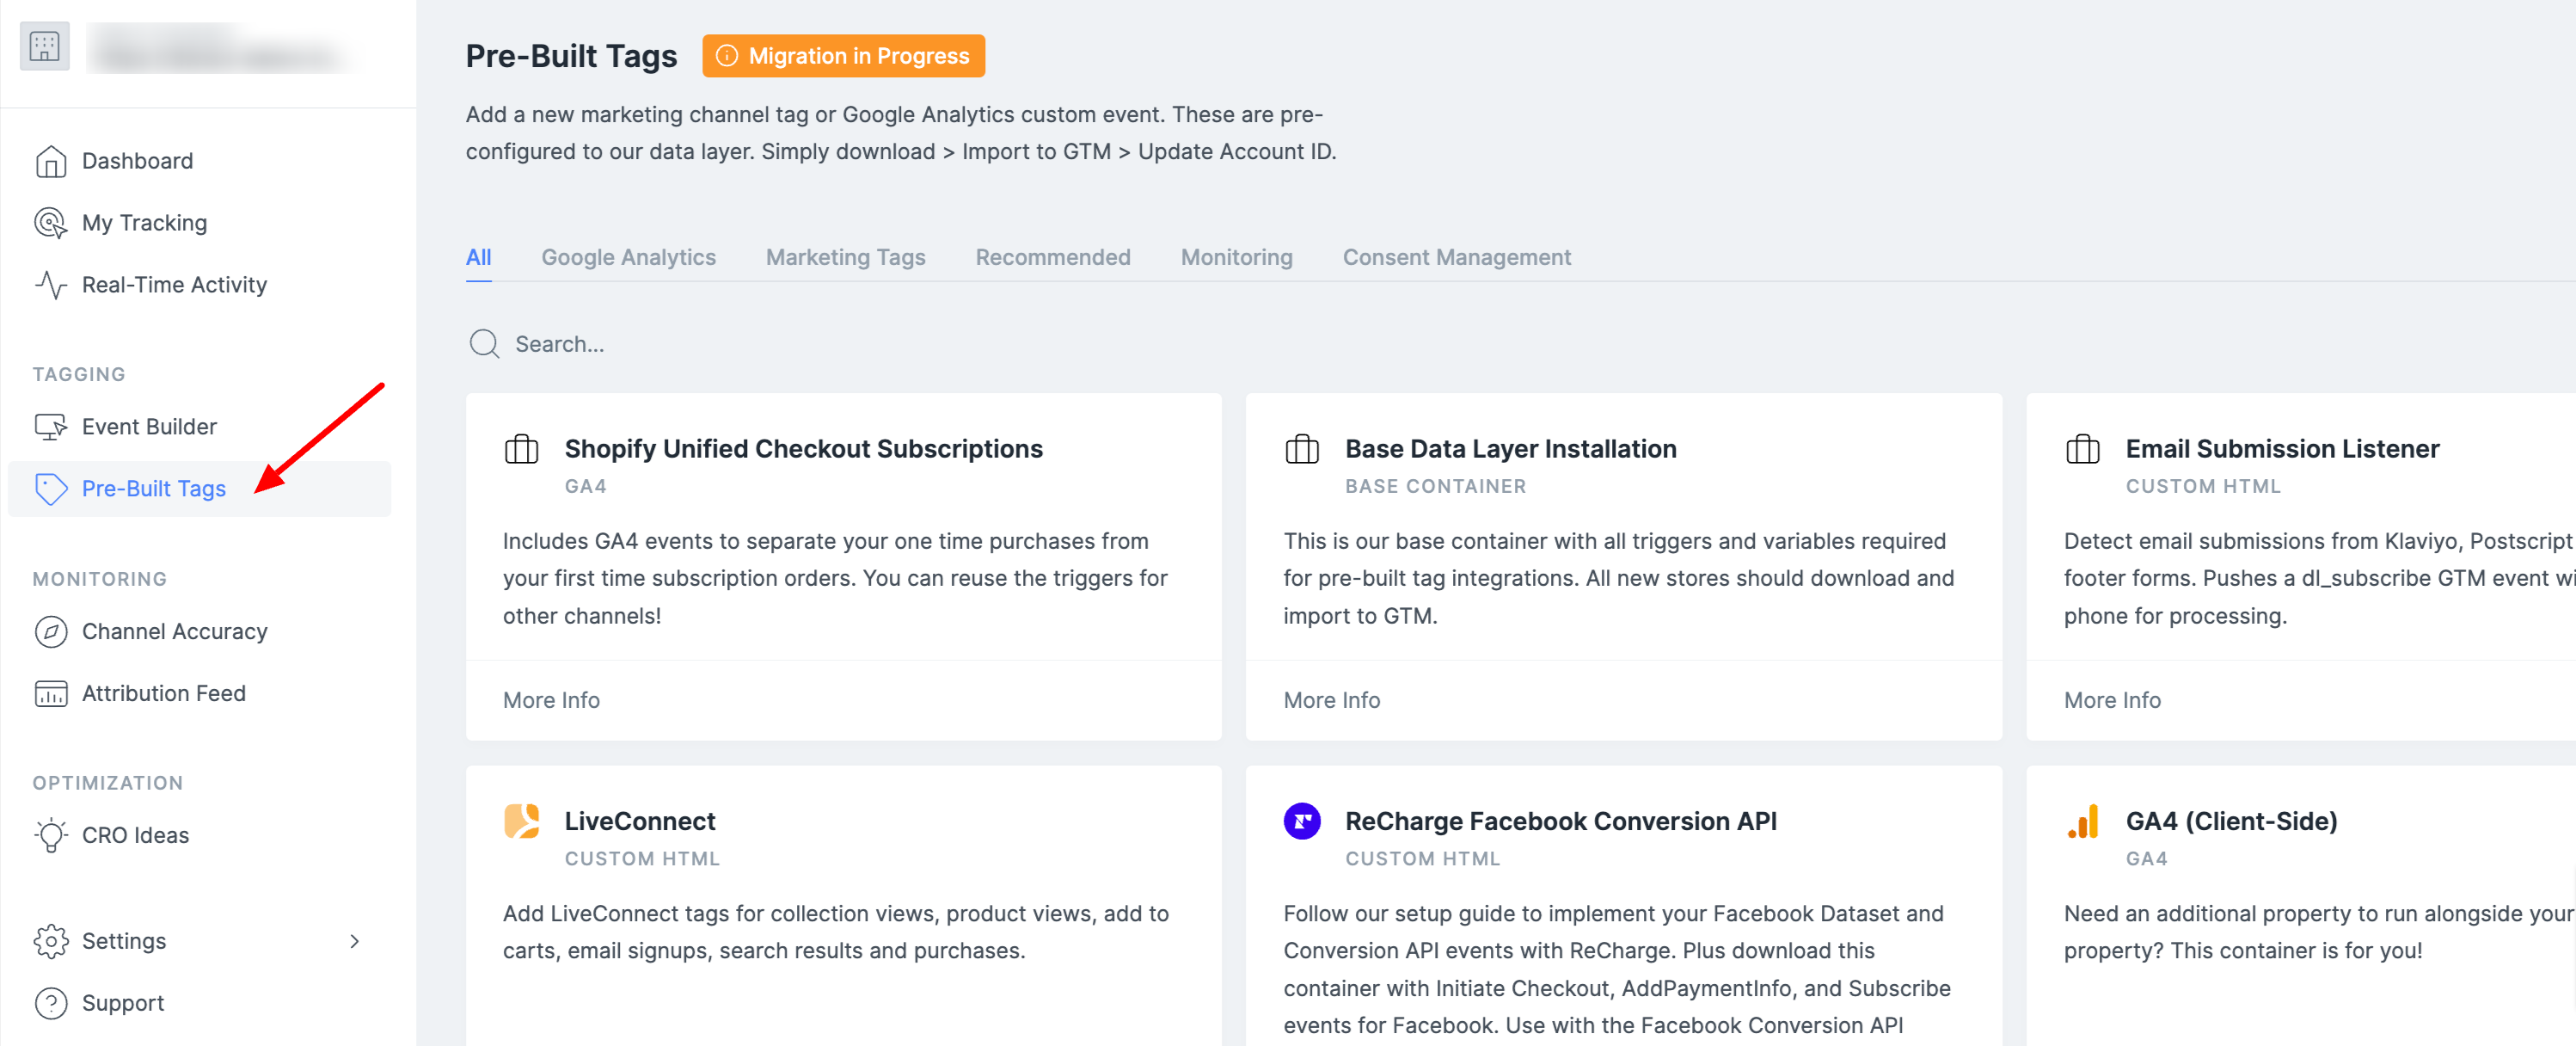
In your Elevar App, navigate to Pre-Built Tags
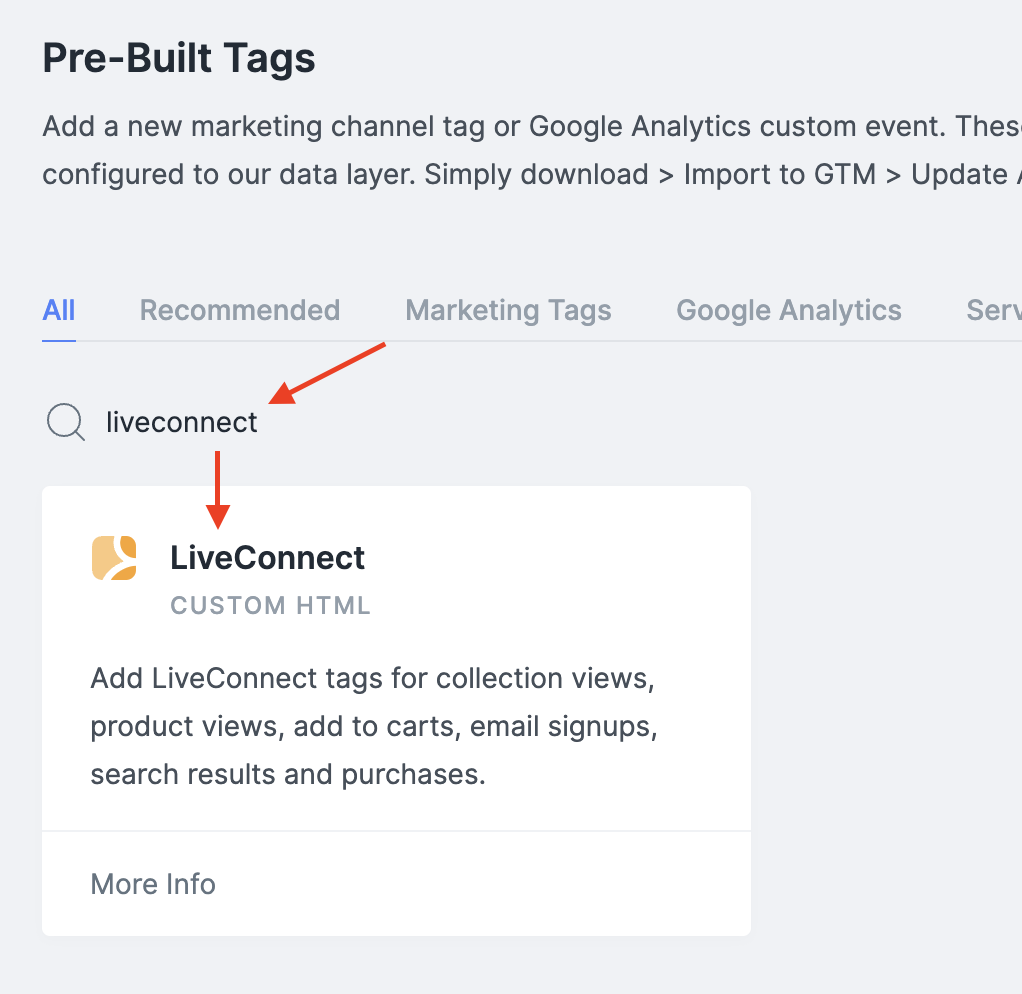
Search for LiveConnect > Click into the LiveConnect Container
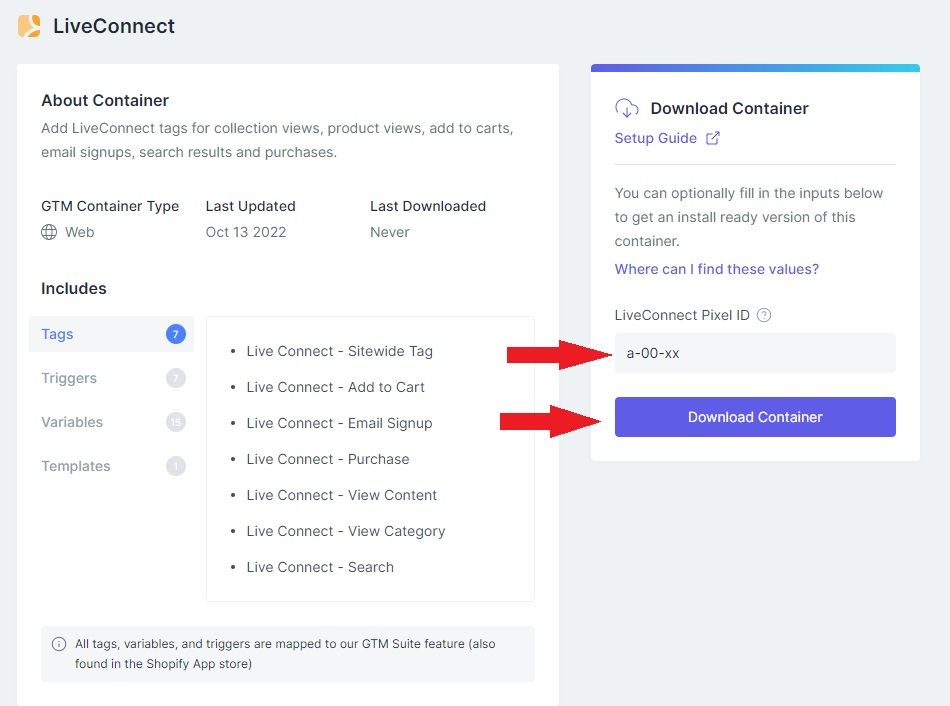
Enter your LiveConnect Pixel ID [How do I find this?], and click "Download Container".
Step 2: Import the Pre-Built Tags into GTM Web
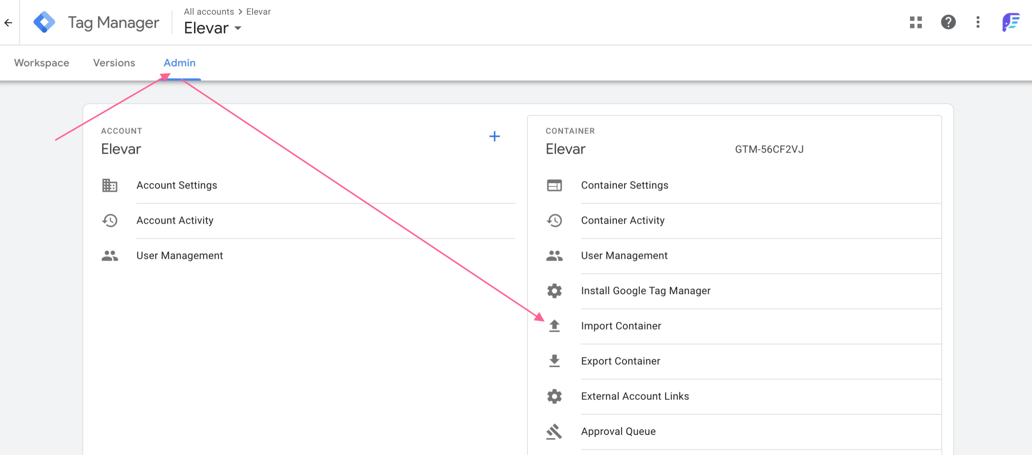
Log in to your Google Tag Manager Account > Select your GTM Web Container
Select Admin > Import Container
Select to import the file that you just downloaded in Step 1. Choose a New Workspace and title it LiveConnect Tracking. Then choose Merge > Overwrite. Your import will look similar to the below:
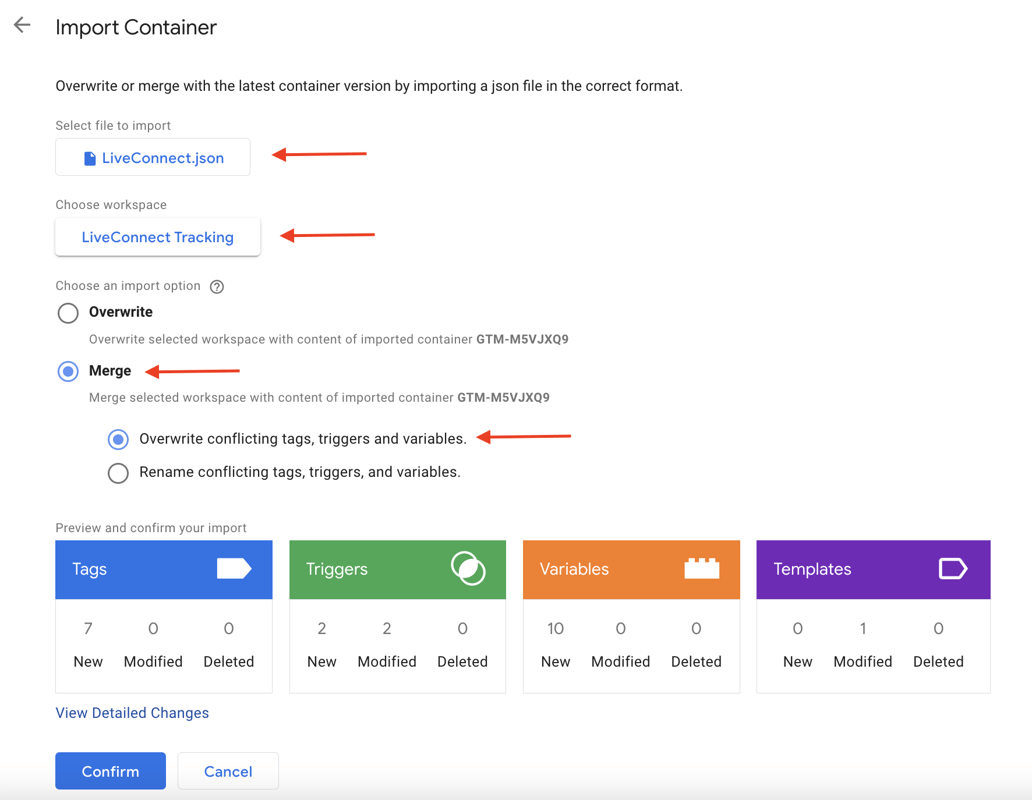
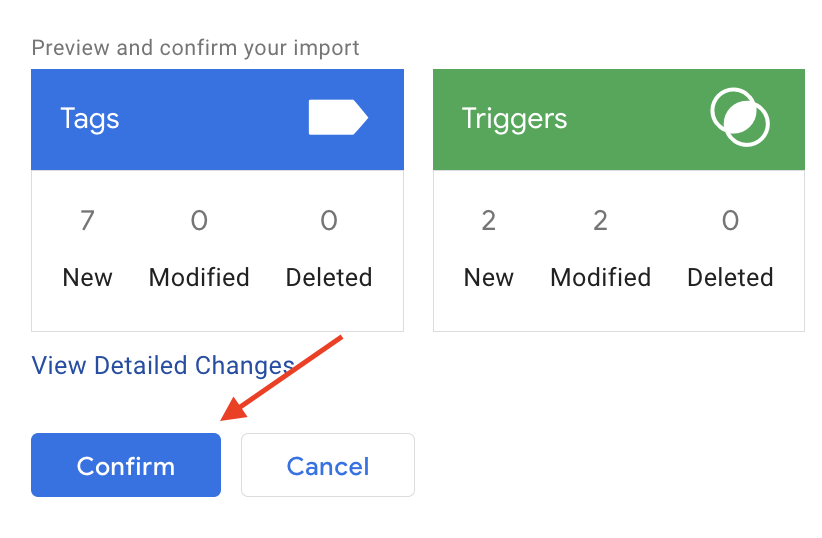
Select _Confirm _to import the tags
Step 3: Confirm Your Pixel ID is Correct
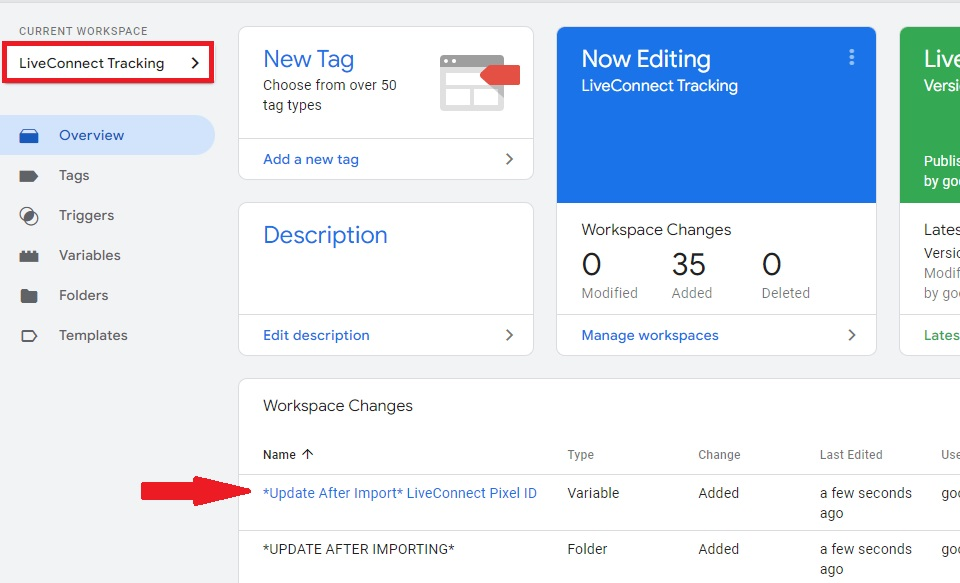
In your LiveConnect Tracking workspace, find the variable titled Update After Import LiveConnect - Pixel ID
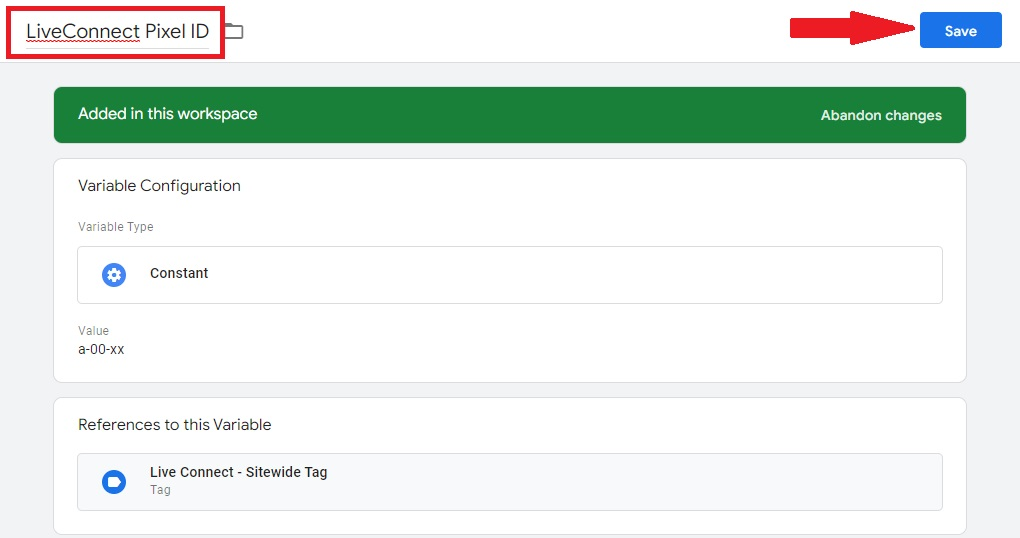
Confirm your pixel ID is correct, then remove the words Update After Import from the title of this variable (since you just updated it!) and select save to save your changes.
Step 4: [Optional] QA the new tags with Google Tag Manager's Preview Mode
Follow our guide to QA your tags in Google Tag Manager (GTM) preview mode.
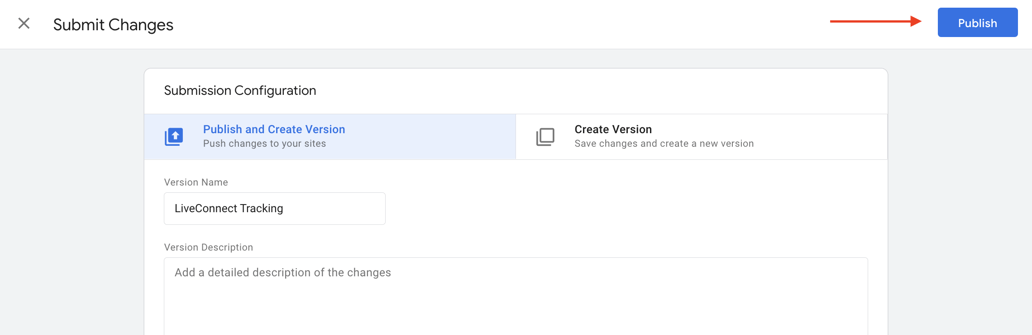
Step 5: Publish the Pre-Built Tags
In your LiveConnect Tracking workspace, select Submit

Select Publish
Step 6: Remove Previous LiveConnect Tracking
That's it!
Updated 5 months ago