How To Set Up Elevar Tracking with Skio, Smartrr, Ordergroove, or other Subscription Providers in Shopify Checkout
Using a subscription provider with your store? You're in good hands. Follow the quick tips below.
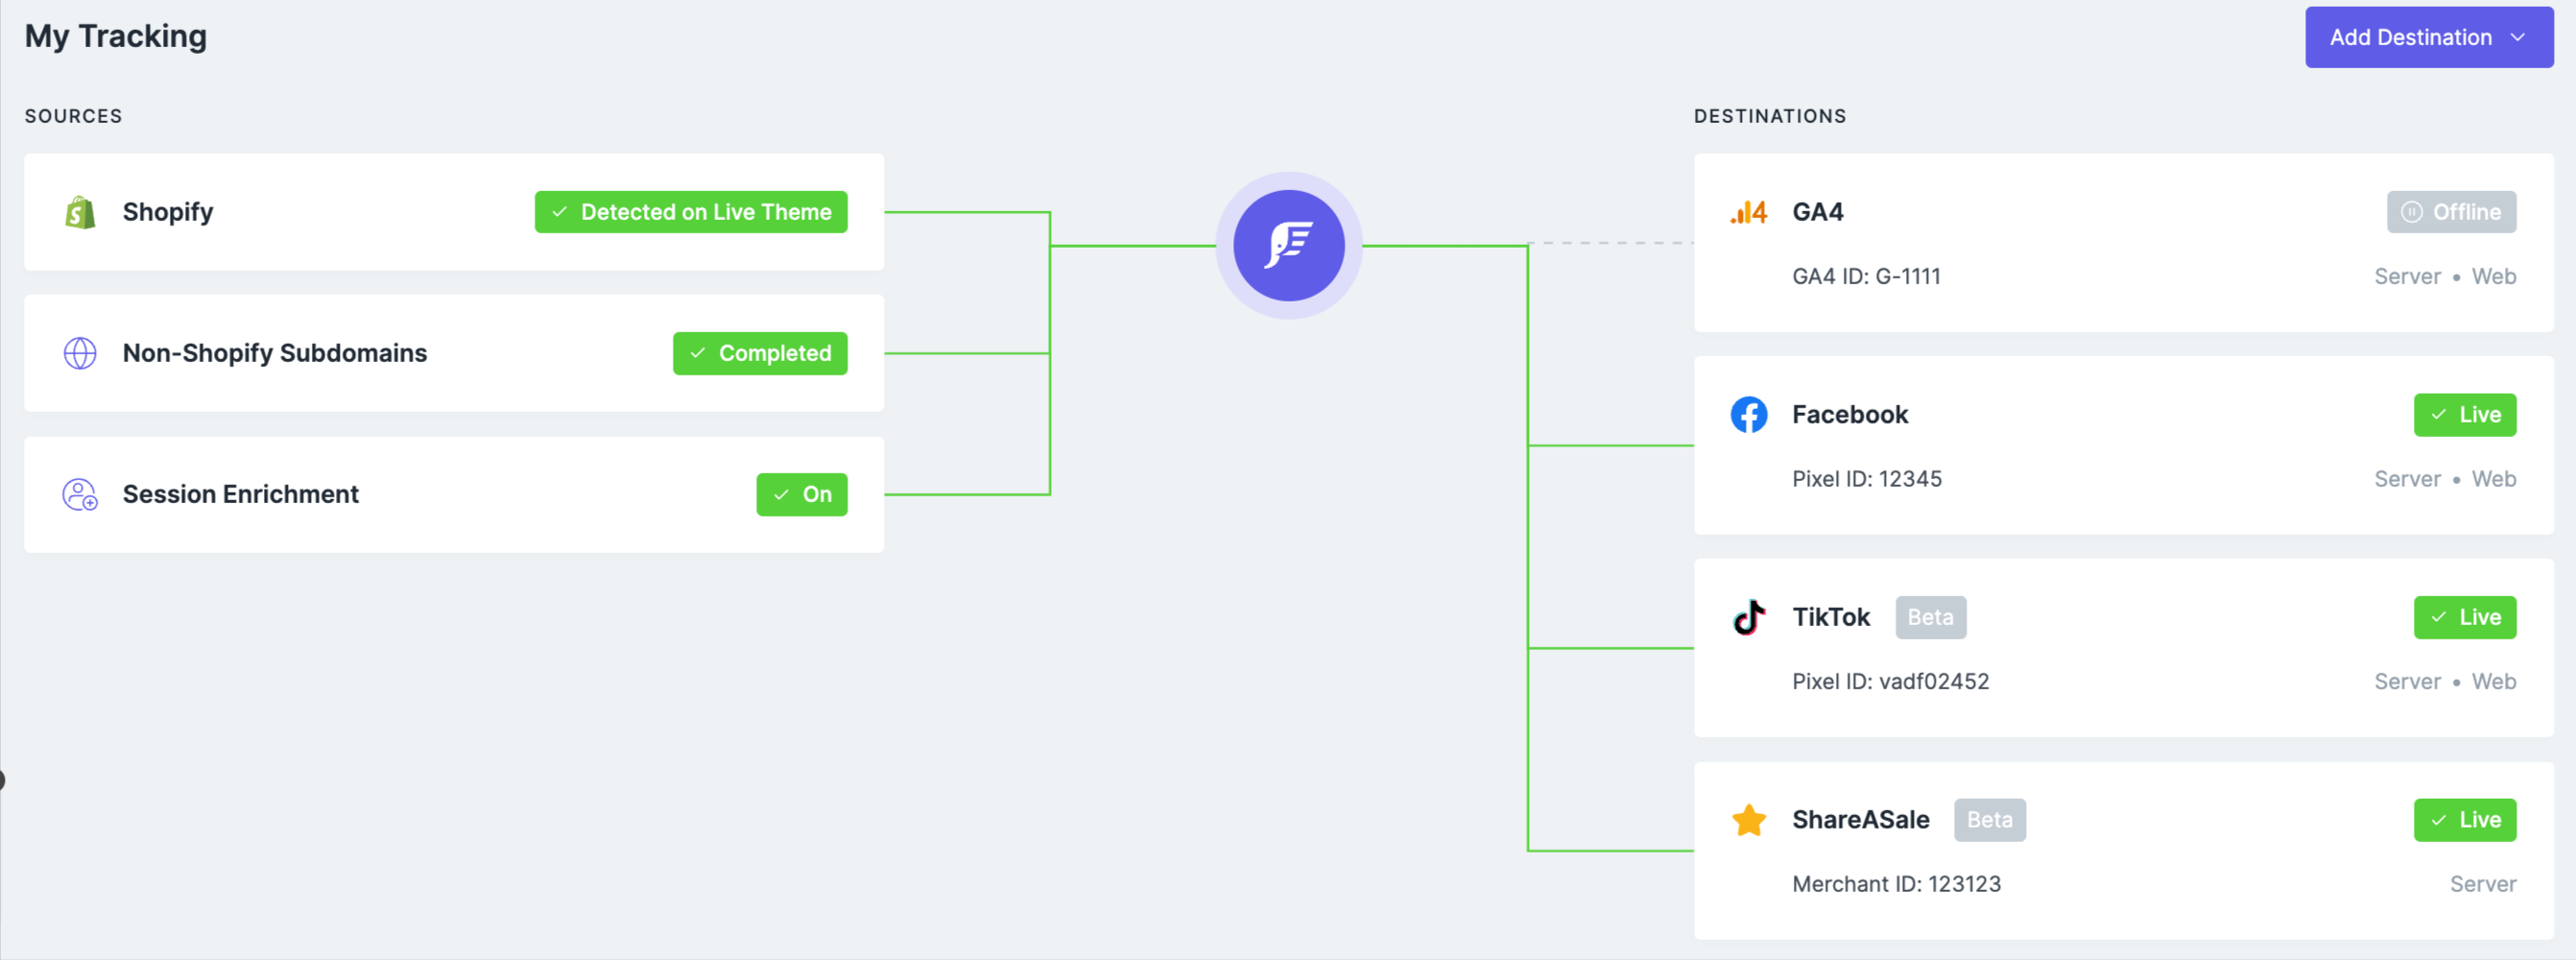
Elevar integrates with all subscription providers that use the native Shopify checkout like Skio, Ordergroove, Smartrr, ReCharge, and more.
You can simply follow the standard implementation steps inside your Elevar dashboard:
The main questions you will want to consider are the following:
- Do you want to block all recurring orders from being sent to each channel (ex. GA, Facebook) or do you want to send all recurring orders to the destination configured?
- Do you want to split one-time vs subscription purchase events in Google Ads, Google Analytics, or other channels? For example do you want a Purchase Conversion in Google Ads that is for subscription purchases only?
You can find details on how to manage both of these in this related guide.
Updated 5 months ago