!!!! WARNING !!!! If you do not follow steps 4-9 outlined below then you will take your website down. Please be sure you do not edit anything in your DNS related to your primary www domain. This is only for a new subdomain you create // END OF !!!! WARNING !!!!!
This is the second part of configuring your server side container. Before completing this guide, be sure you’ve completed the steps in creating your server side container.
This guide goes through every step required to:
- Create custom subdomain for your server side data collection
- Assign your unique subdomain to your server side container
- Verify the subdomain is working as expected
Before getting started you will want to have the following:
- A verified domain that your email has been added to. Typically this is your primary website URL that is verified in Google Search Console.
- Access to your DNS registrar (e.g. GoDaddy, Cloudflare, Network Solutions, etc.)
Remember – as we covered in the overview on server side tag management with GTM, you get data to your server side container by sending requests to a unique URL. And you want that unique URL to be a subdomain of your primary website URL so your server side tagging is done in 1st party context.
Step 1: Access Google Cloud Container
Go to your server side container in GTM.
- Then click your GTM Container ID on the top right corner of the screen.
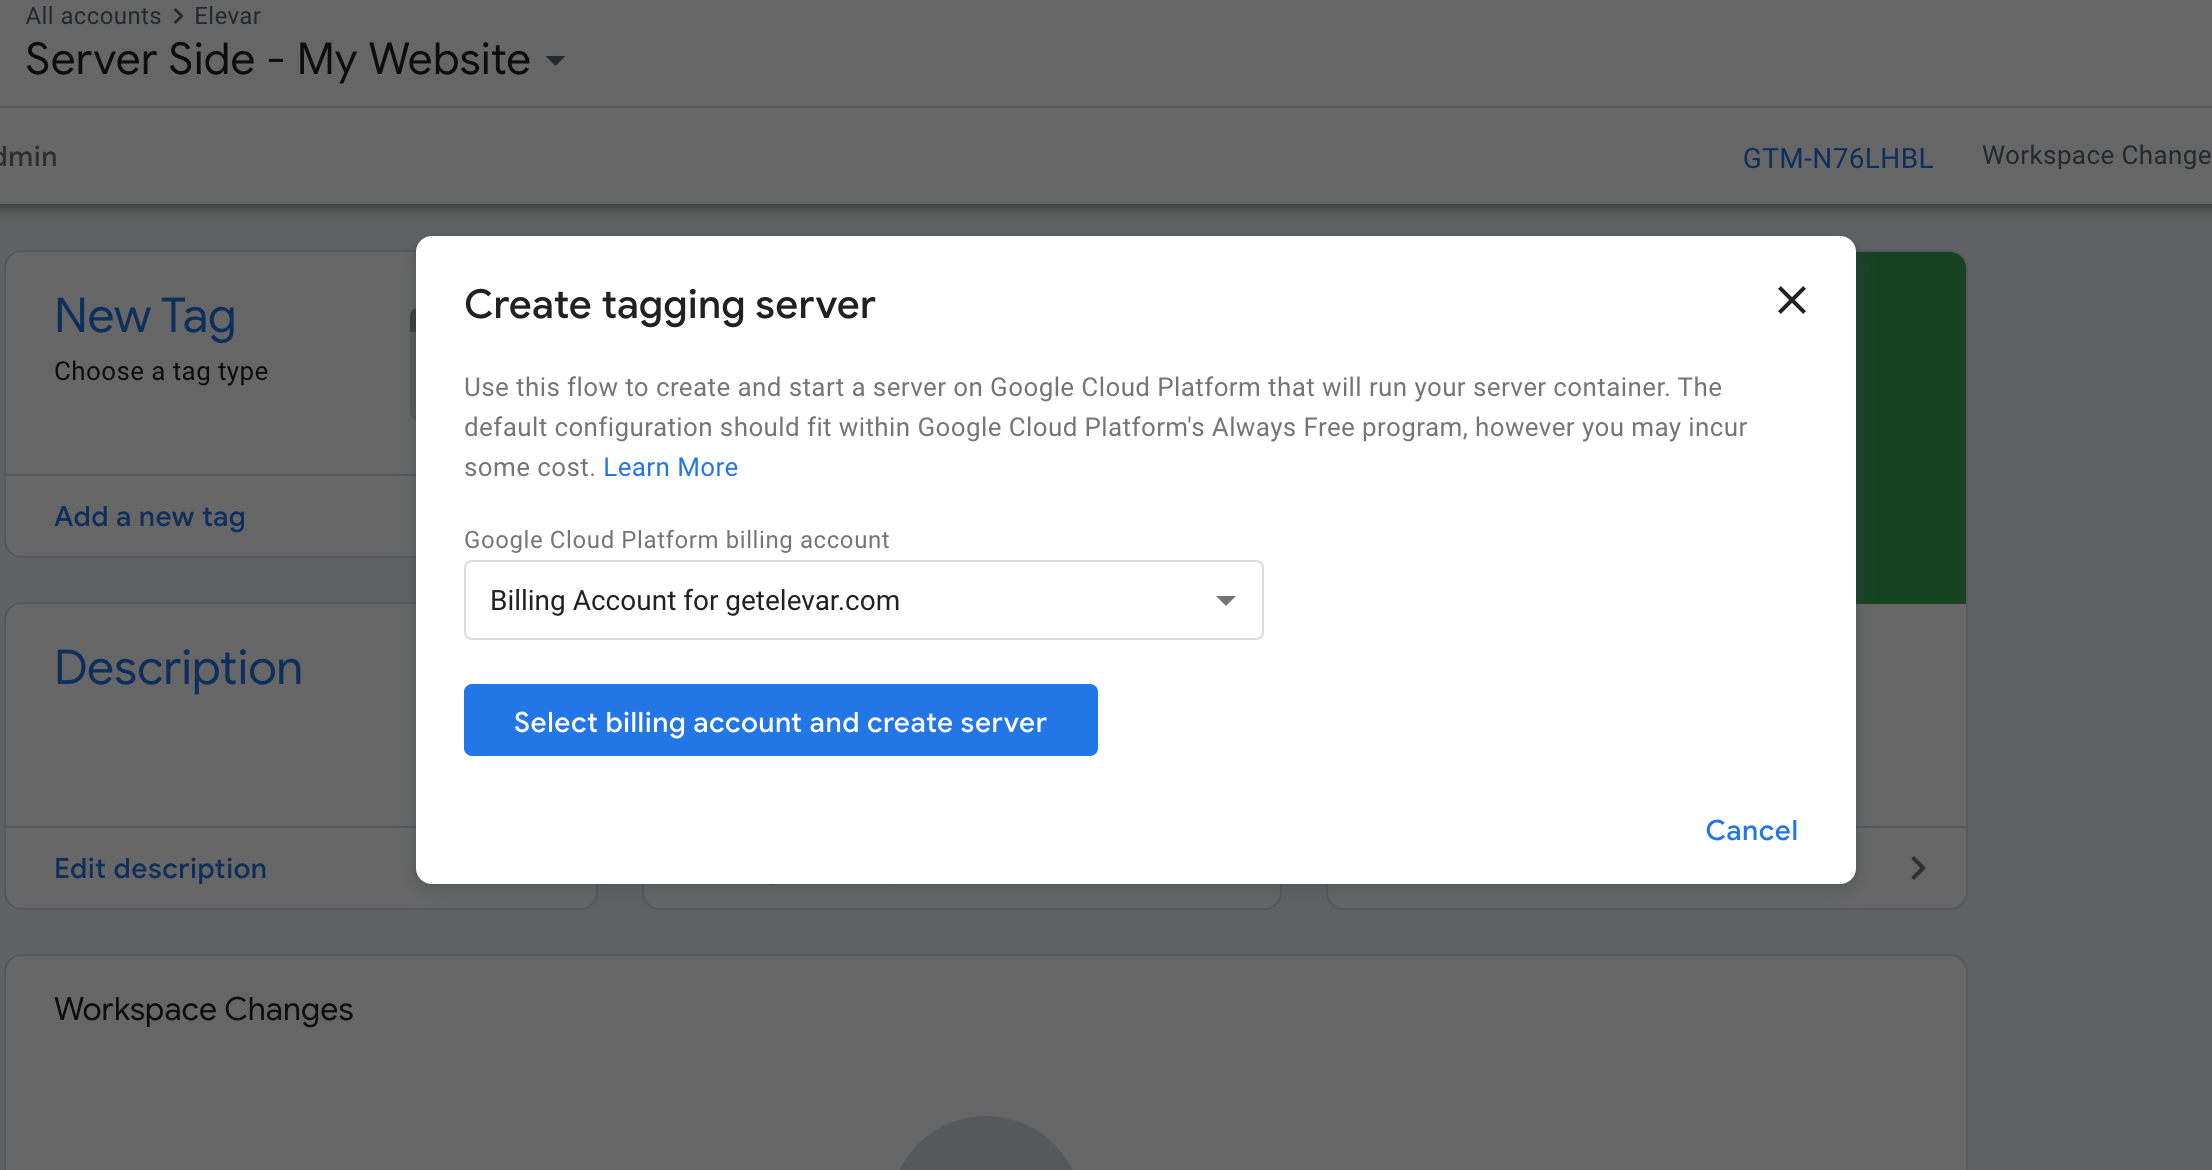
- Inside the modal that contains your server information, click on the “Google Cloud Platform ID” link which will bring you to your Google Cloud account.

This will bring you to your Google Cloud App Engine page.
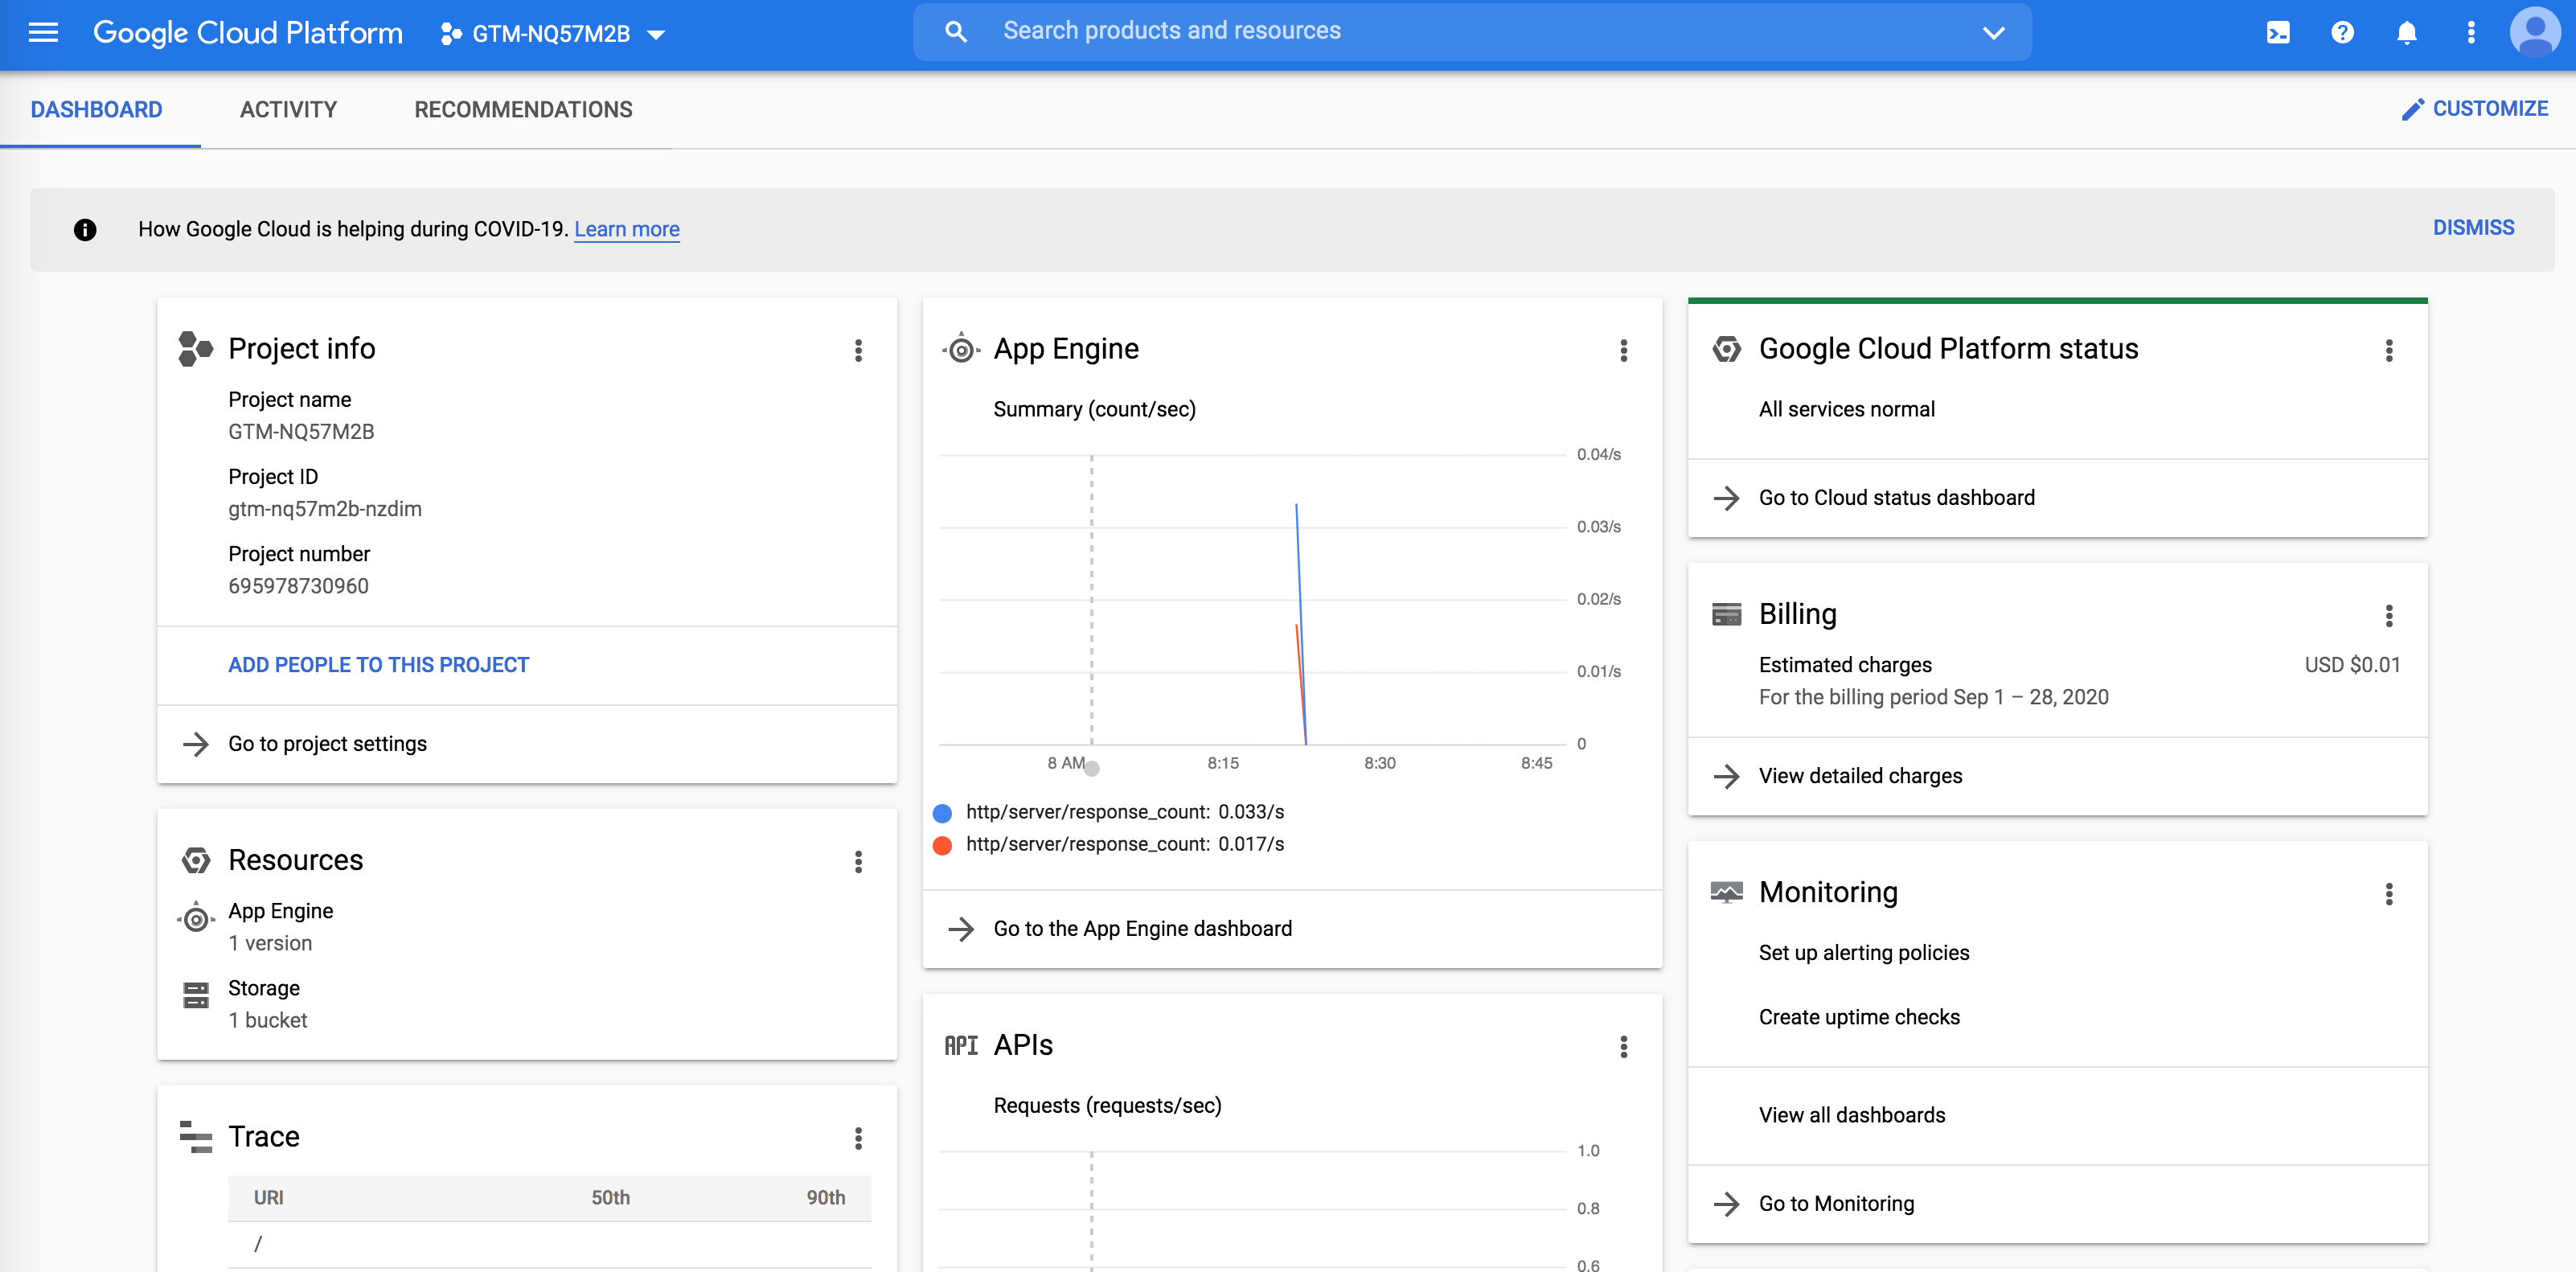
FAQ: What Google Cloud Project should I be in? – Google auto-creates a project for you! You can verify you’re in the correct project by confirming that the project ID matches the project ID shown in Google Tag Manager > Click the GTM Container ID on Homepage > project ID listed under ‘Google Cloud Platform Project’.
Step 2: Navigate To Your App Engine
In this step you’ll need to click the hamburger menu and go to App Engine > Settings as shown here:

This should bring you to a page that looks like this:
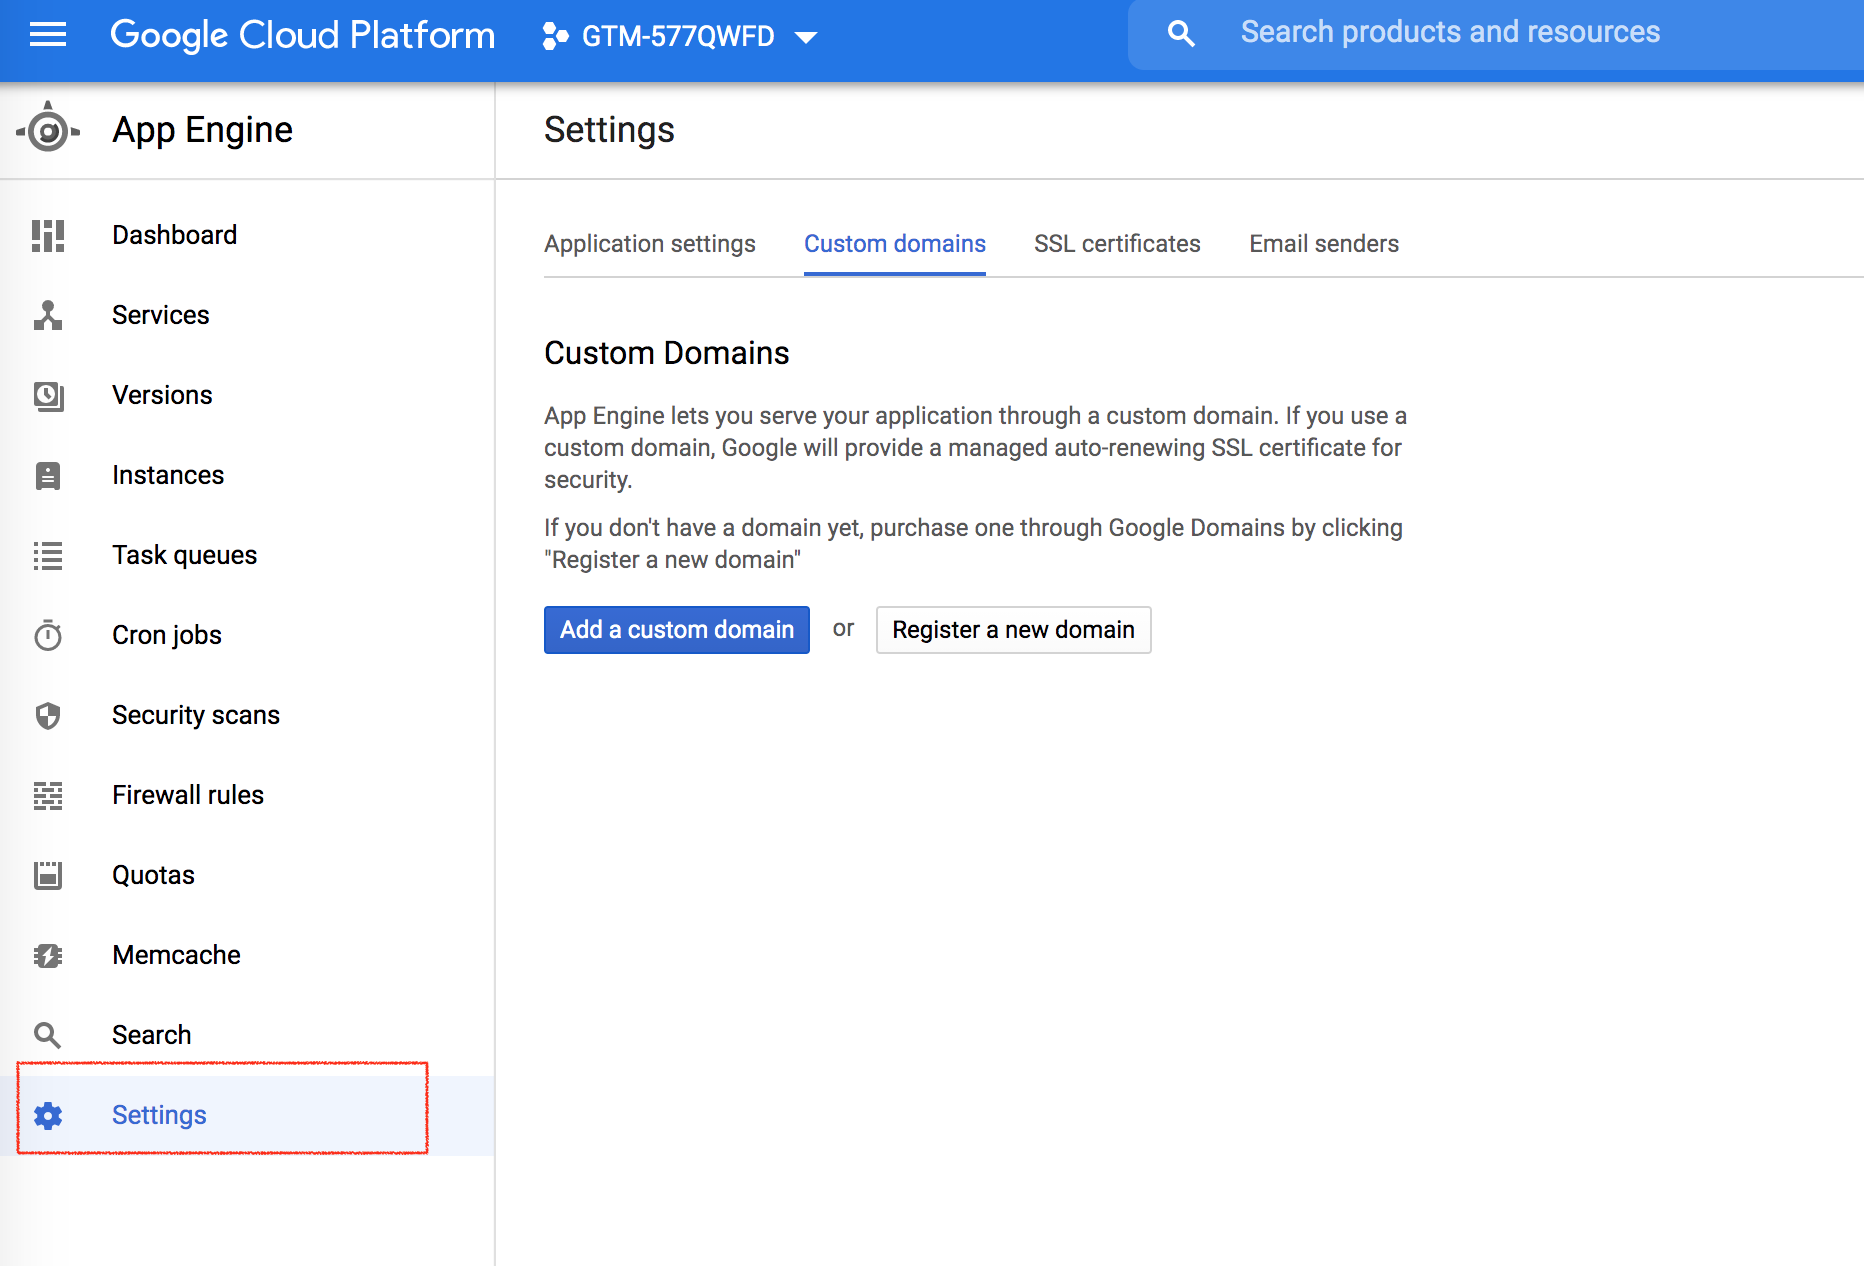
Click on the Custom Domains tab to continue.
Step 3: Verify Your Domain
In the custom domain tab you’ll need to select a domain that you already have verified
OR verify a new domain.
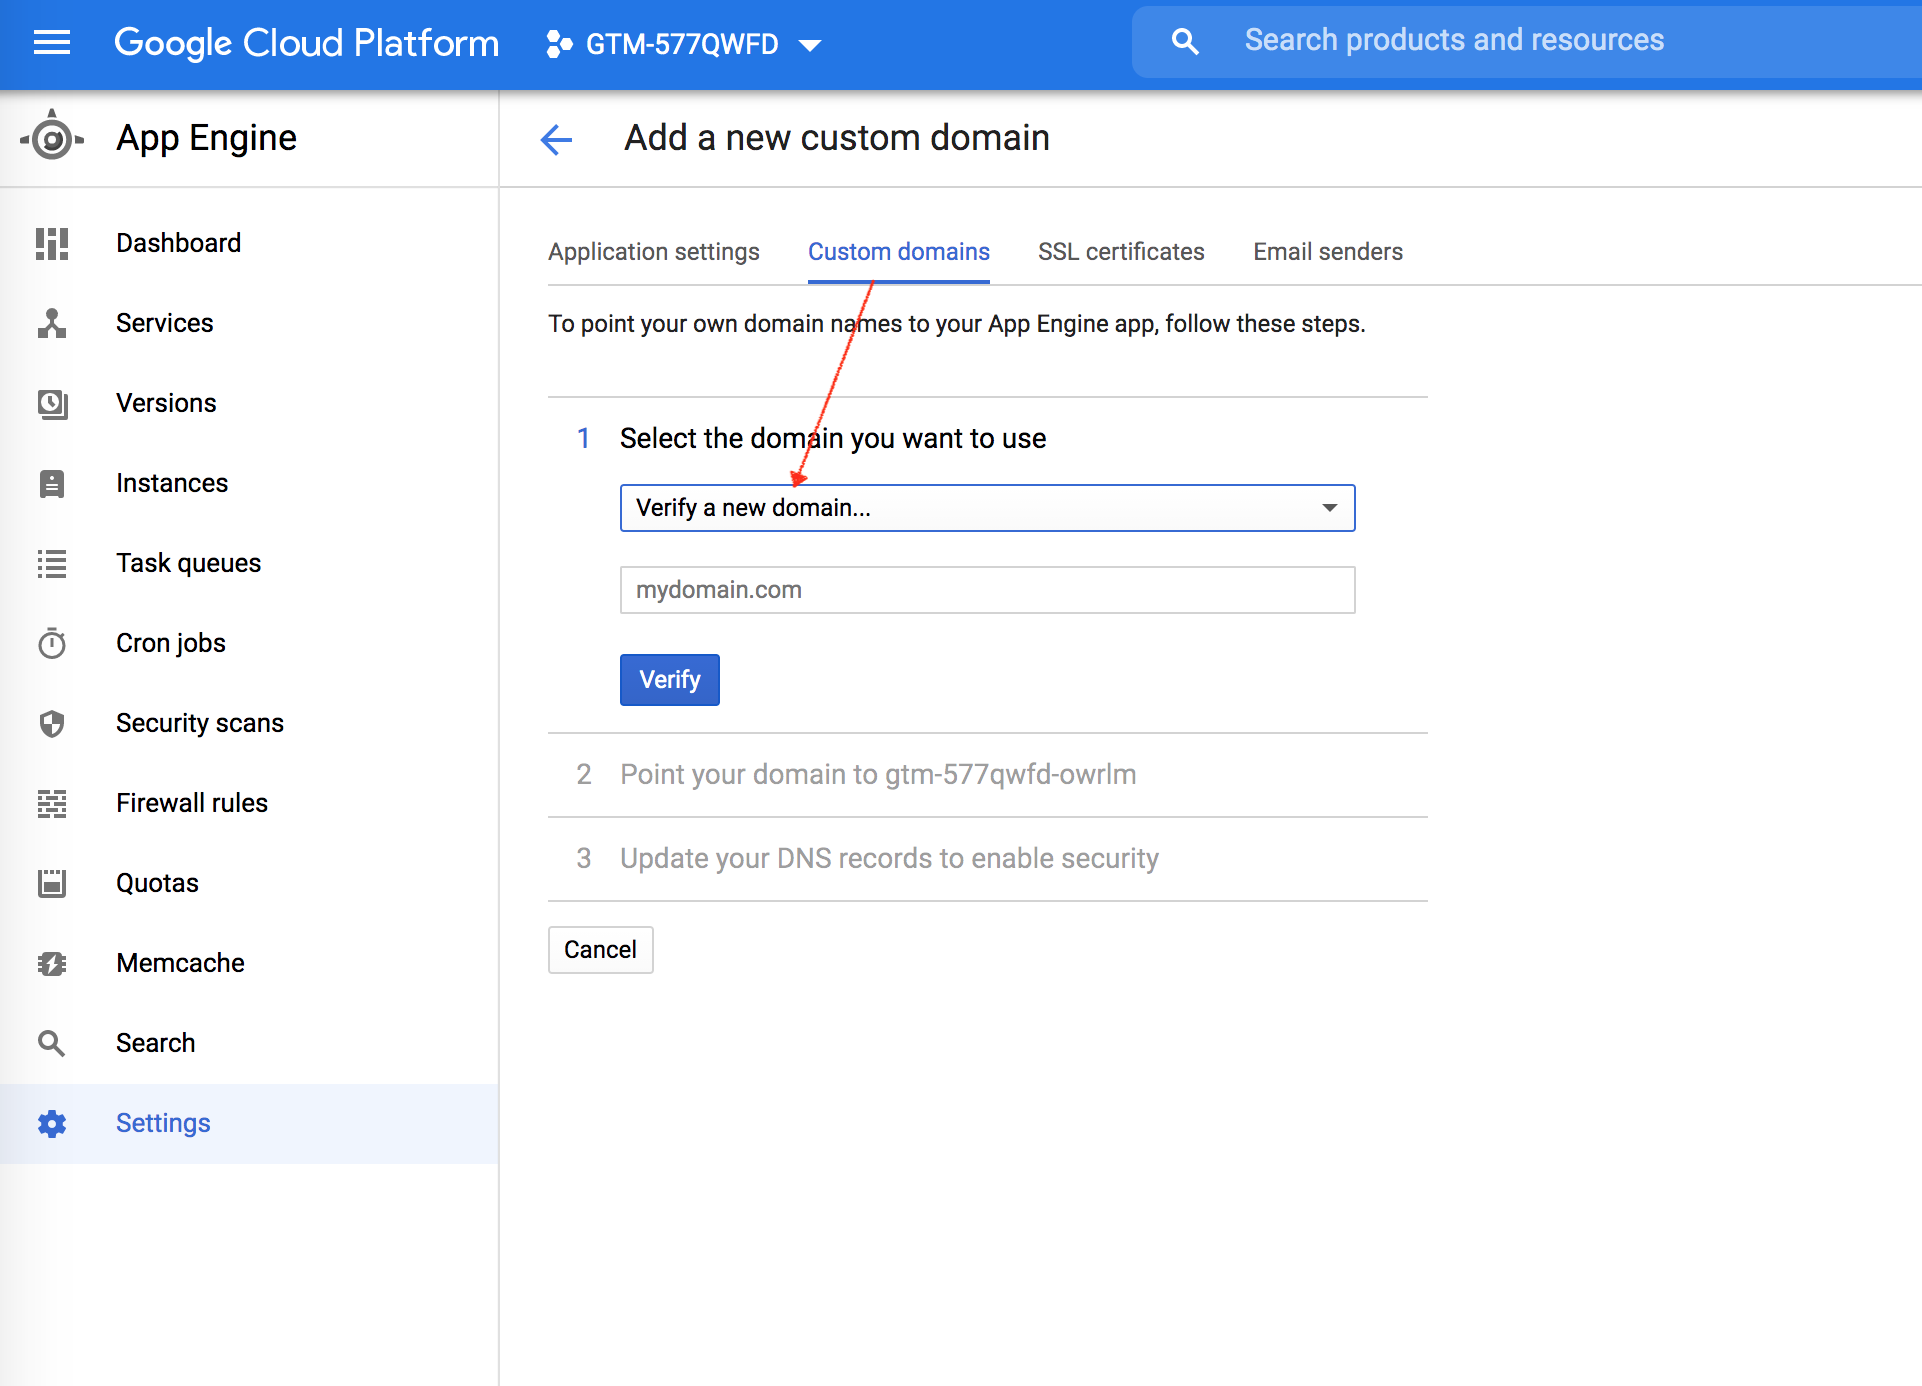
If you have not verified a domain yet then enter the primary domain name you want to use
Example: If your domain is https://www.mydomain.com, then input mydomain.com.
If your email address is already a verified user of this domain in Google Search Console then you won’t need to do anything else and Google will verify your user.
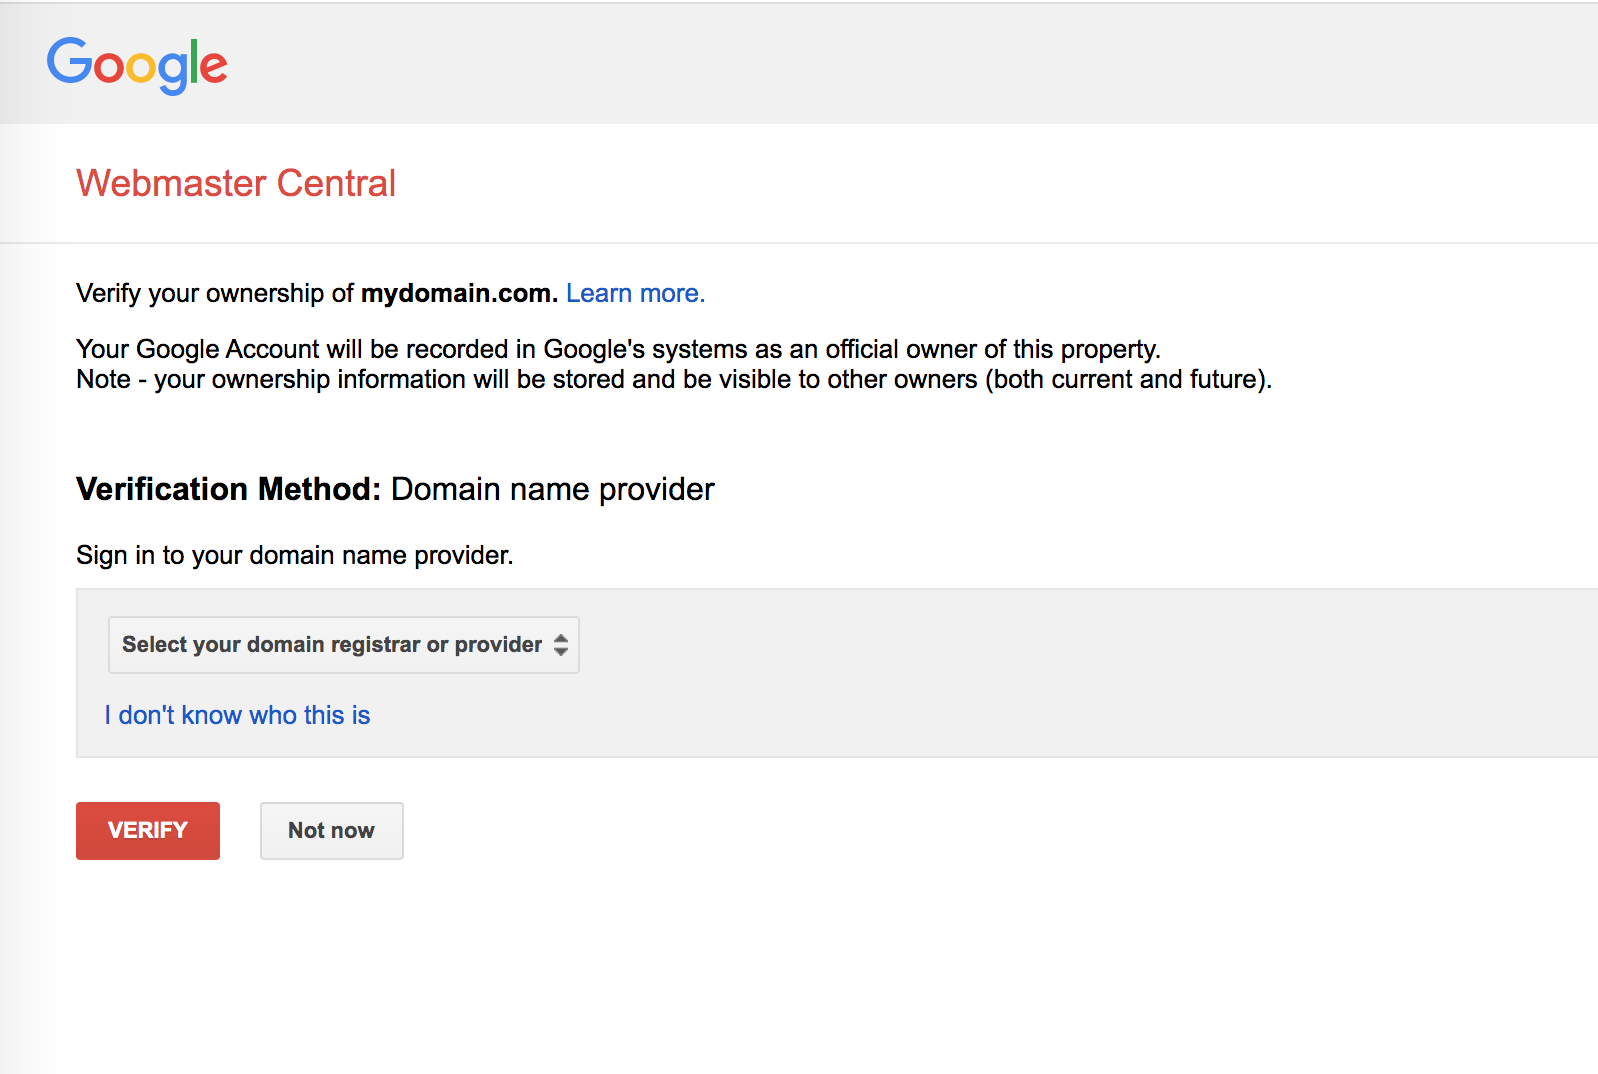
However if you are not verified then Google will walk you through a step to verify your domain by adding a TXT record to your DNS settings.
You’ll likely see a screen similar to this:
Now – this step can get confusing and frustrating. Some common issues we see in this step are:
- The email you are logged into Google Cloud is not the same email that has Search Console access. In this case you can either verify this email with search console or add your email to search console.
- Search console isn’t verified at all. If this is the case then go the TXT record route when verifying (which the Google verification will walk through).
- If you do verify then you might need to way 20-30 minutes for Google Cloud to update. Refresh the page if needed.
If you’ve added a TXT record for your DNS settings then you’ll need to refresh the page to see the green checkmark that you’re verified.
Step 4: Continue With Verified Domain
Once you’ve verified your domain then click continue on your domain like the below:
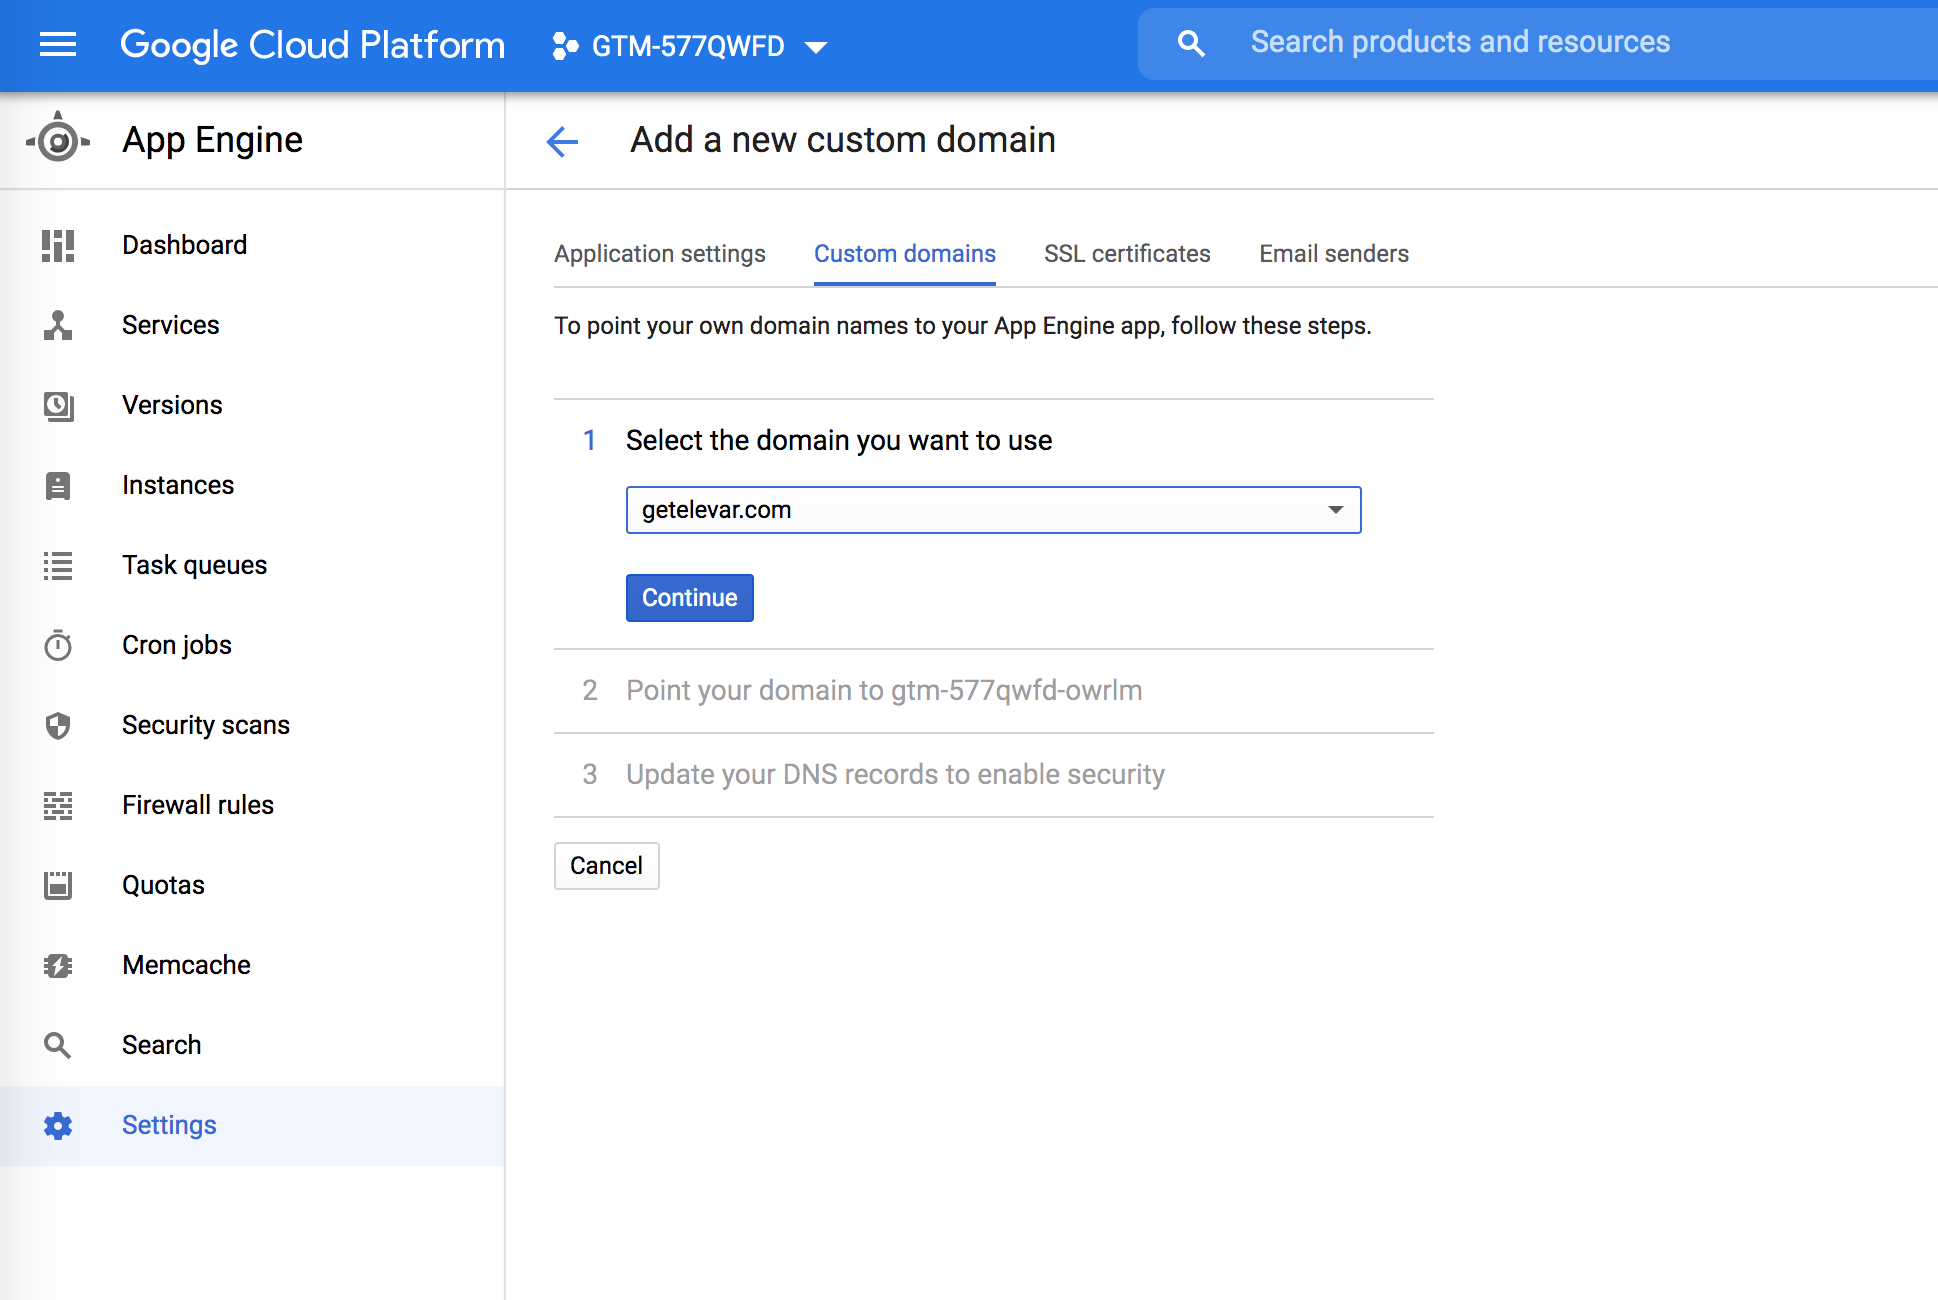
!! This is a very important step. When you click continue from above you are going to be shown a similar screen as shown below. !!
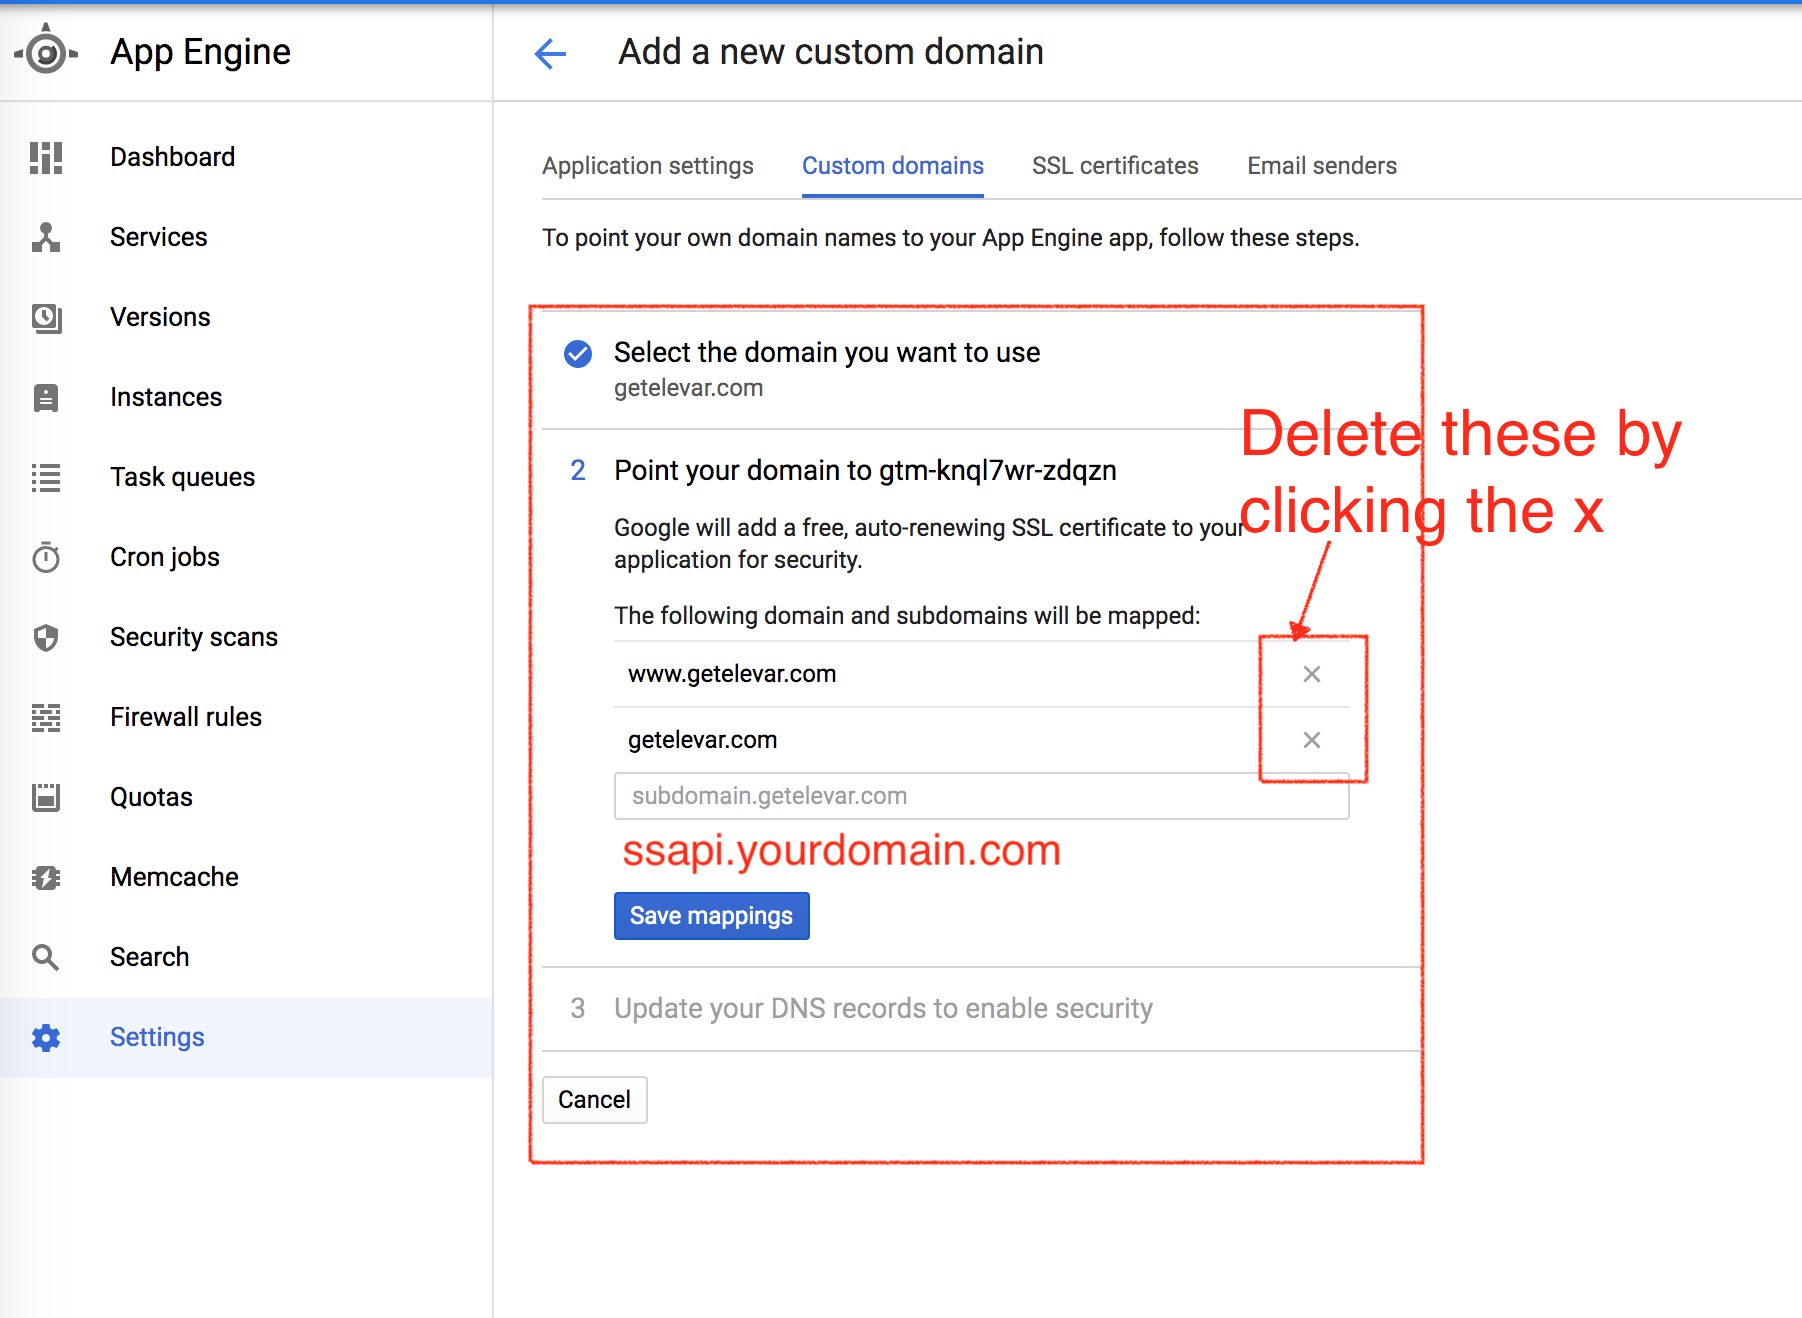
By default Google is going to show your primary domain and www domain to “connect”.
YOU DO NOT WANT TO CONNECT THESE.
Sorry for the caps – but it’s that important.
X out the defaults they show you in the screenshot above.
The only domain you need to continue with is your subdomain that you’ll be using for your SS container.
The example below uses:
The subdomain (in bold) can be anything you want. Just don’t use your primary domain here.
Step 5: Create Subdomain URL
In this step you’ll add your custom subdomain which will be your server URL.
For example if I added getelevar.com as my verified domain name in the previous step and I wanted my subdomain to be “ssapi.getelevar.com” then I would enter “ssapi.getelevar.com” in the field shown below.
We recommend creating something unique for your business (i.e. don’t use collect).
*very important* – DO NOT USE WWW OR YOUR PRIMARY DOMAIN HERE! THIS WILL BREAK YOUR WEBSITE.

Once you’ve saved your subdomain mapping in the previous step then you should see a green checkmark confirming your new subdomain for your server side container.

Step 6: Update DNS Records
You aren’t quite done with the subdomain setup yet. In this next step you will be prompted with DNS records that you’ll have to add to your DNS registrar.

If using a subdomain (like ssapi) you likely do not need to set your CNAME record in DNS. Do not set a CNAME pointing towards your primary domain (@) or www. This will cause your site to go down.
Here are what your DNS settings will look like (note the values/IP addresses may be different for you):

In this example above, once I’m done I should have:
- 4 A record entries in GoDaddy with host of “ssapi”
- 4 AAAA record entries in GoDaddy with host of “ssapi”
No CNAME record added which is normal and expected.
Step 7: Verifying Your Domain DNS
After you’ve entered your DNS entries from the previous step into your DNS settings click “Done” as shown in the previous step. You’ll then be taken to the screen shown below where Google is verifying your DNS records and creating an SSL certificate for your URL.
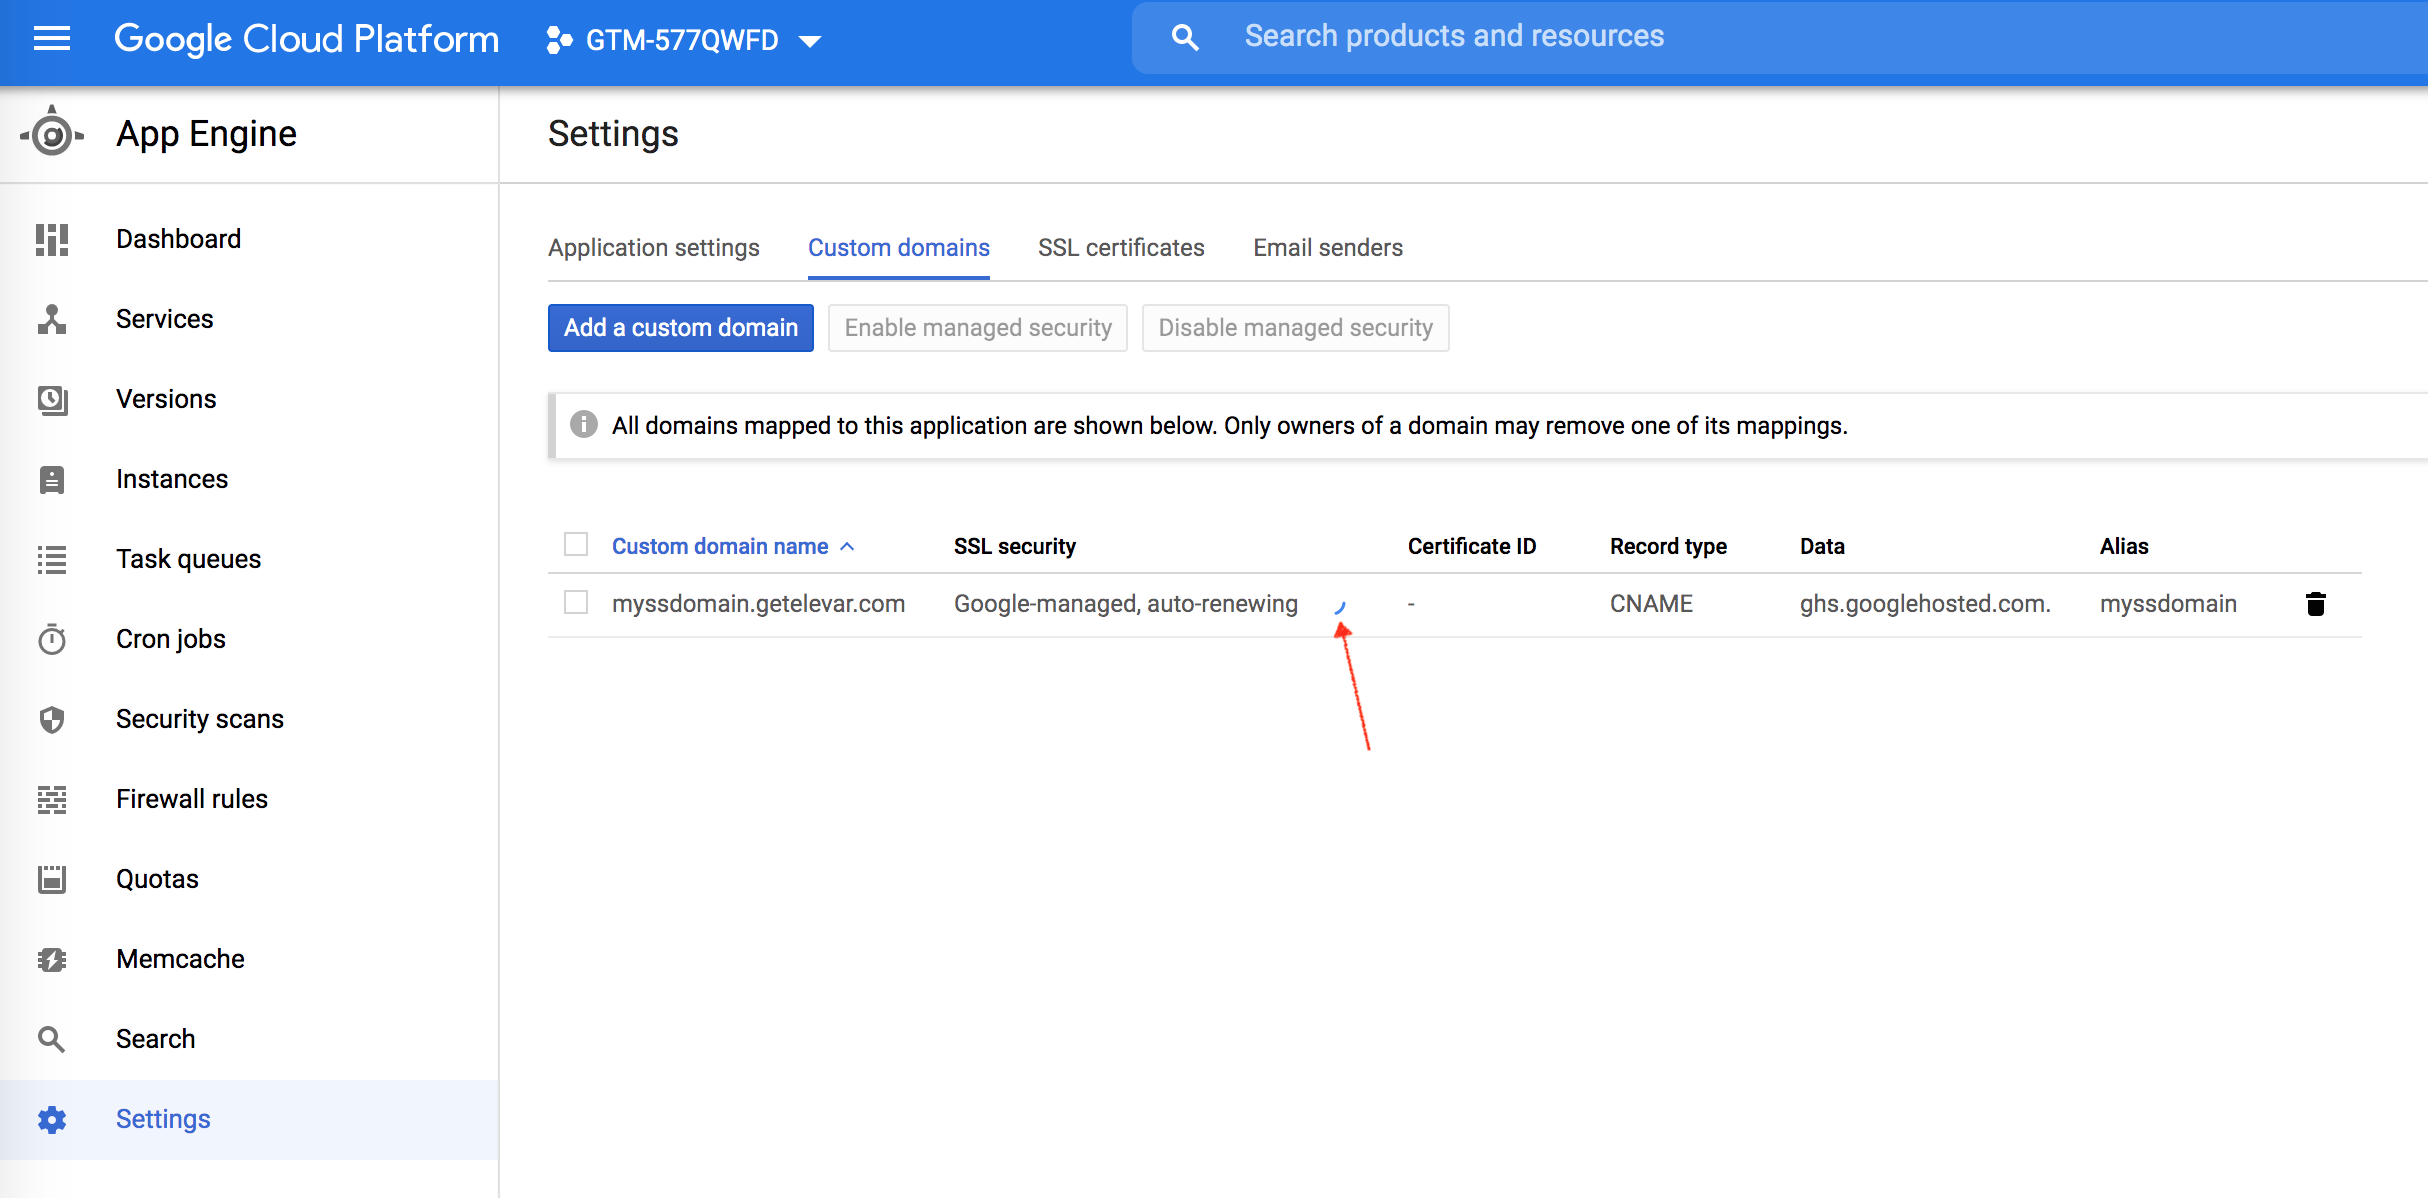
This could take an hour so don’t wait around. Come back to this screen in a few hours.
Step 8: Domain Confirmation
If your DNS was confirmed then you’ll see the screen below for the domain that you created.
For example “ecollect.getelevar.com” is a subdomain that is setup and working (note the Google-managed, auto-renewing SSL).
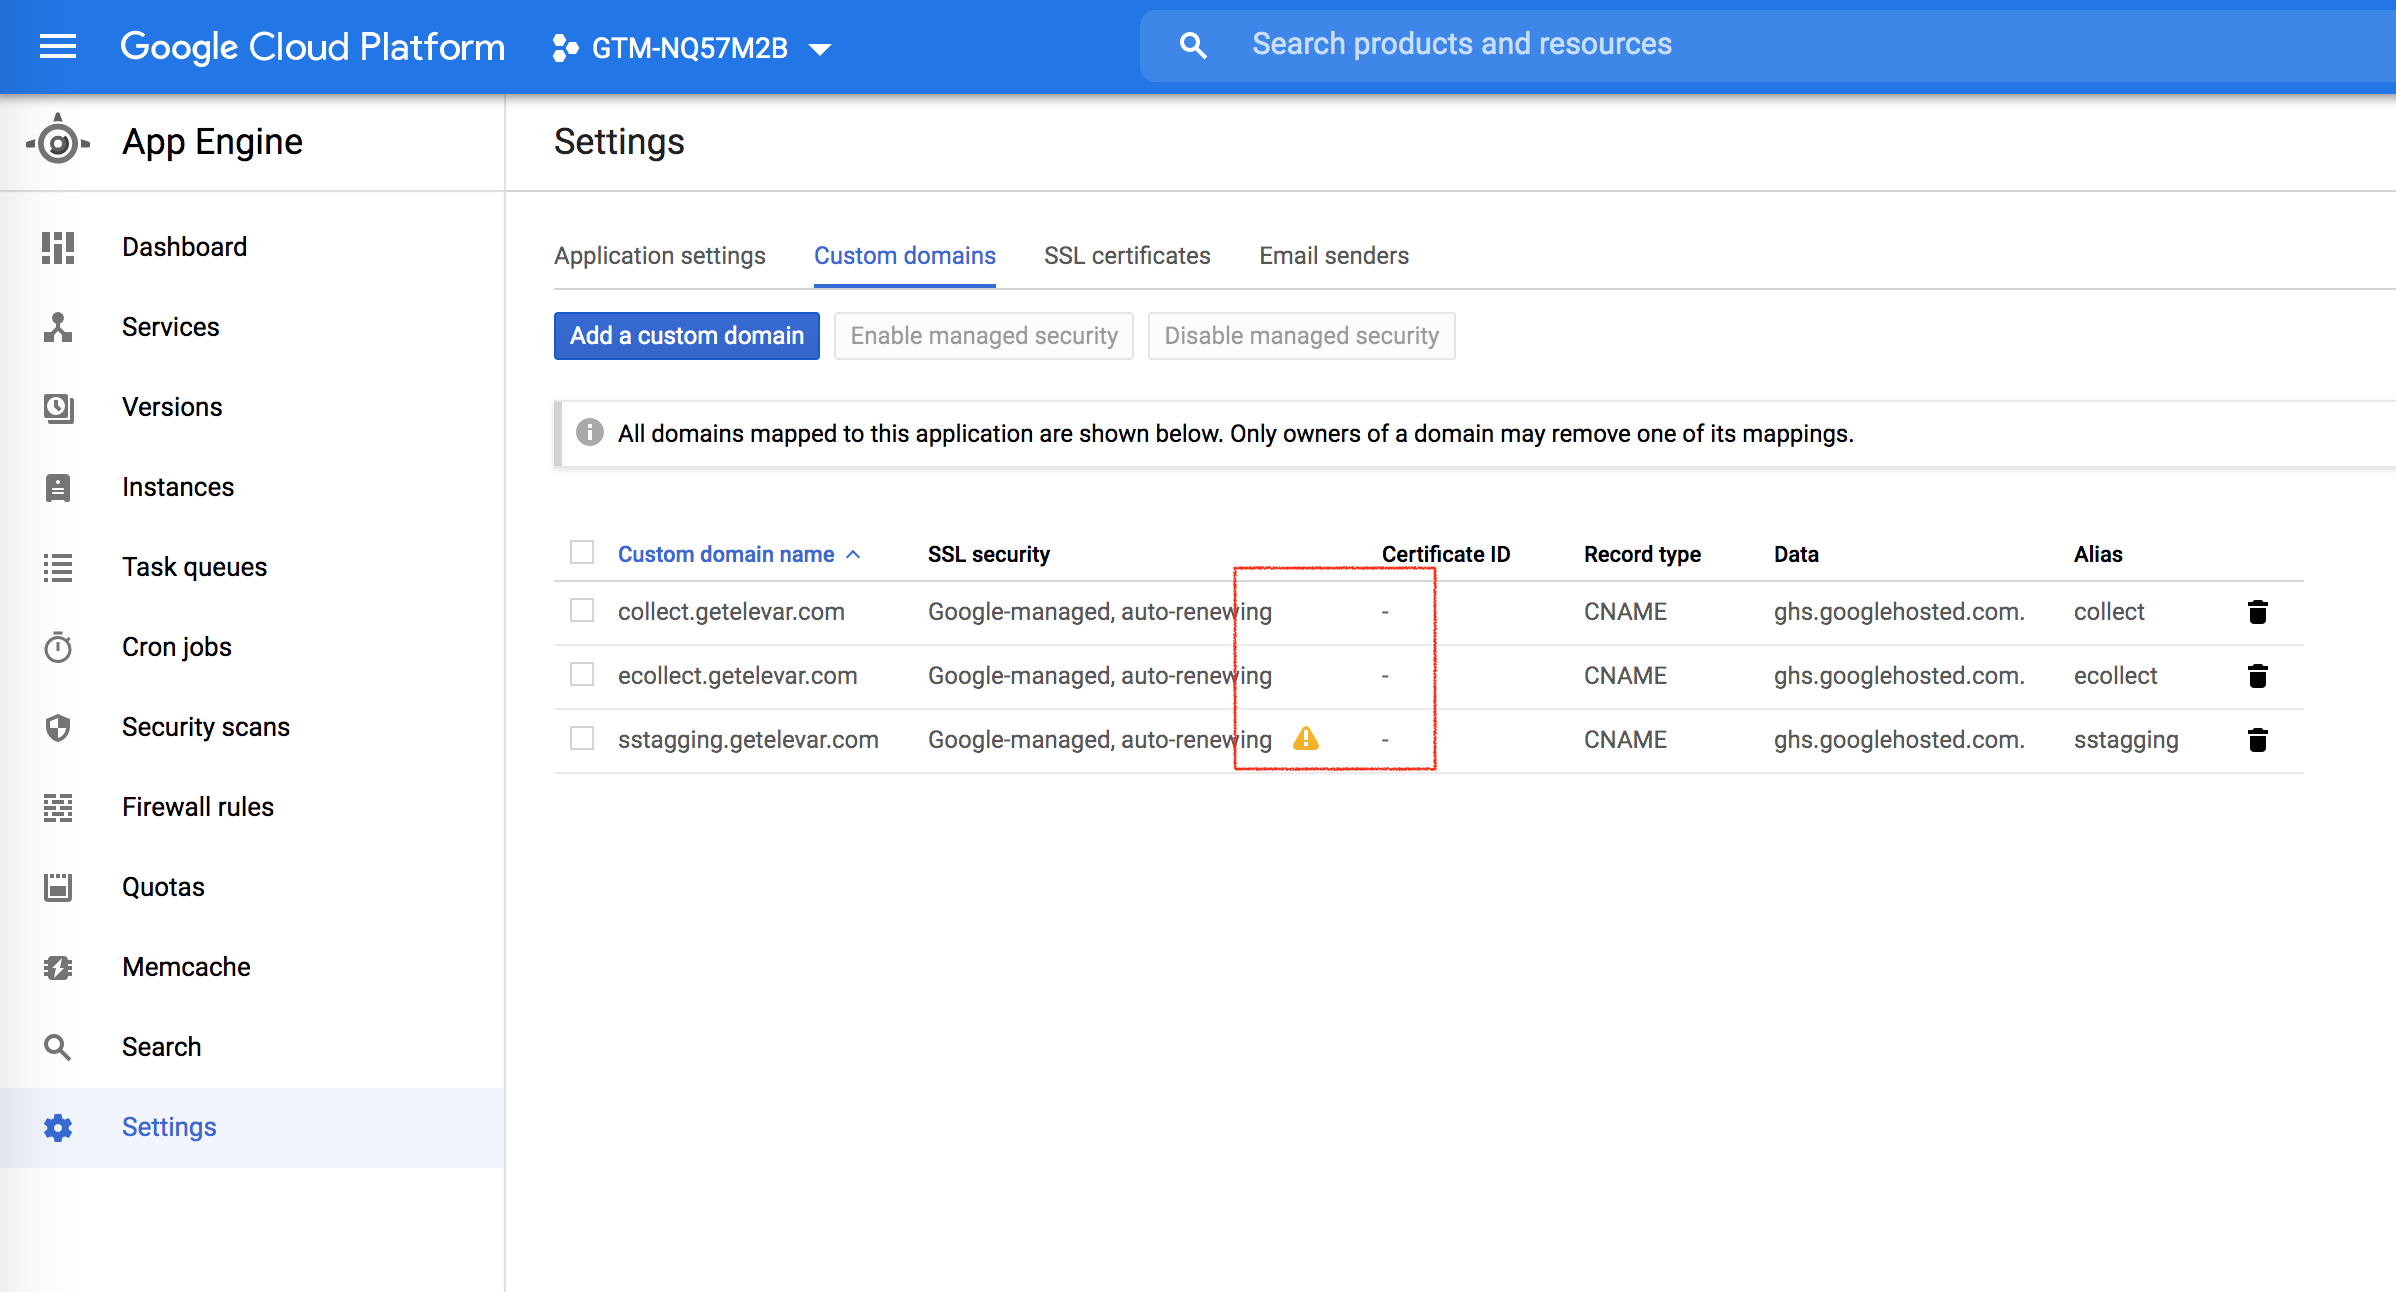
However if there was an error in verifying your subdomain then you’ll get the yellow warning flag as shown above with sstagging.getelevar.com. If this is the case for you then double check your DNS settings were set up accurately.
Step 9: Update Server Side Container Admin Settings
Once you’ve completed the DNS setup then head back to your server side container > admin and update the URL:

Then put your server side container into preview mode:

If everything works then you should see a screen like this:

That’s it! You have successfully created your server side container and connected it to your own custom URL.


 Configure Sources

